Isn’t this a beautiful time of year? I love early Spring! Today, I am bringing you another tutorial for arranging flowers. If you would like to see the first one, simply click HERE !
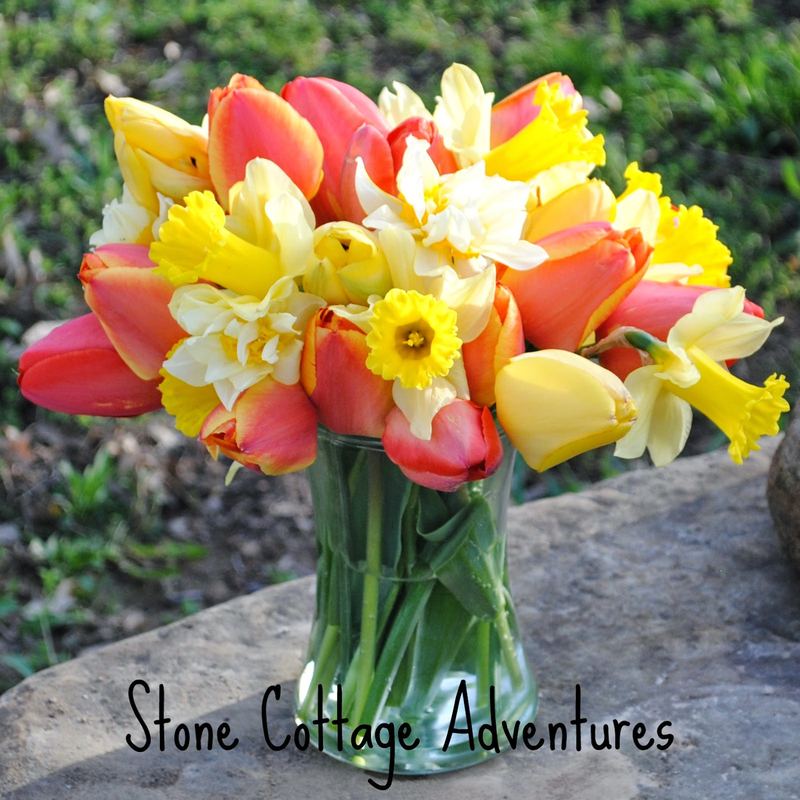
Tulips are such stunning flowers. When arranging them, I like to keep it as simple as possible and usually just arrange them “by hand”. Here’s a little tutorial how to do it.
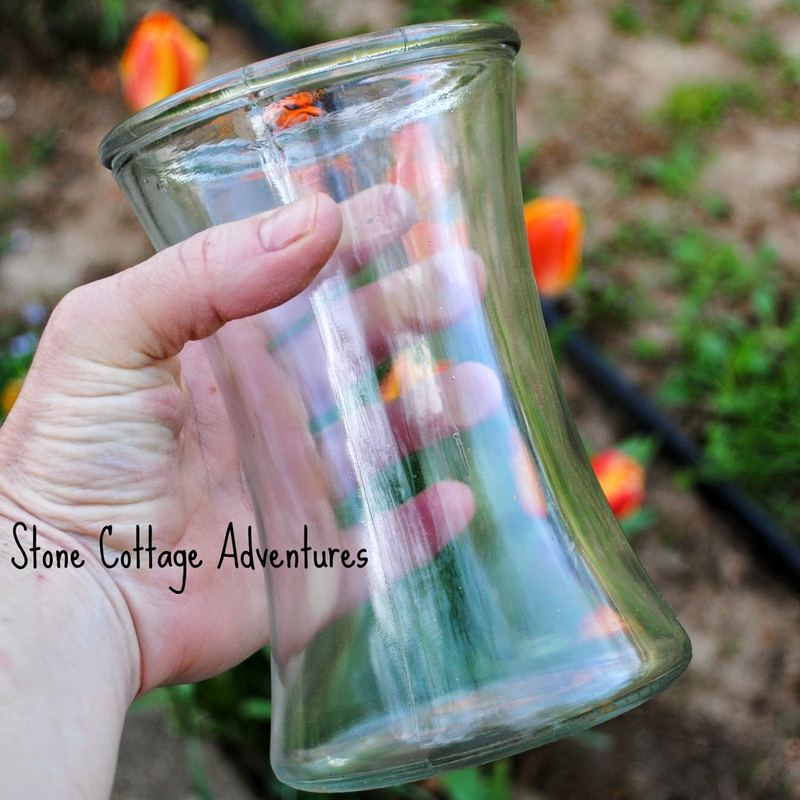
I prefer a short vase for this trick. This one happens to be just a bit bigger than I can grip. Perfect!
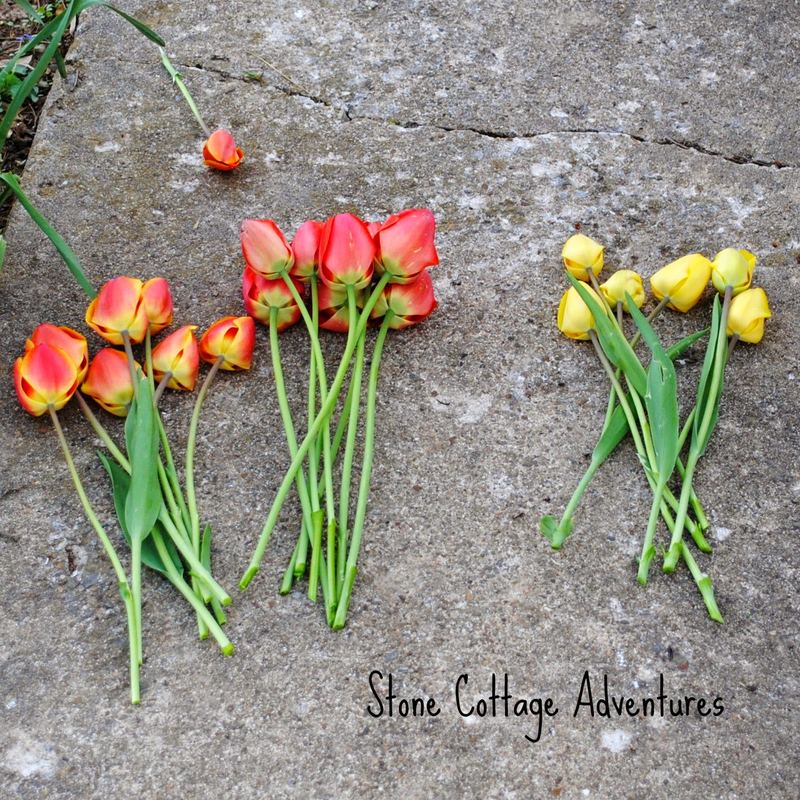
We recently had a hail storm that damaged most of the tulips. They looked pretty scrappy, so I cut what was left. ‘Not quite enough for a bouquet of just tulips and you can probably see some of the petals are a bit bruised.
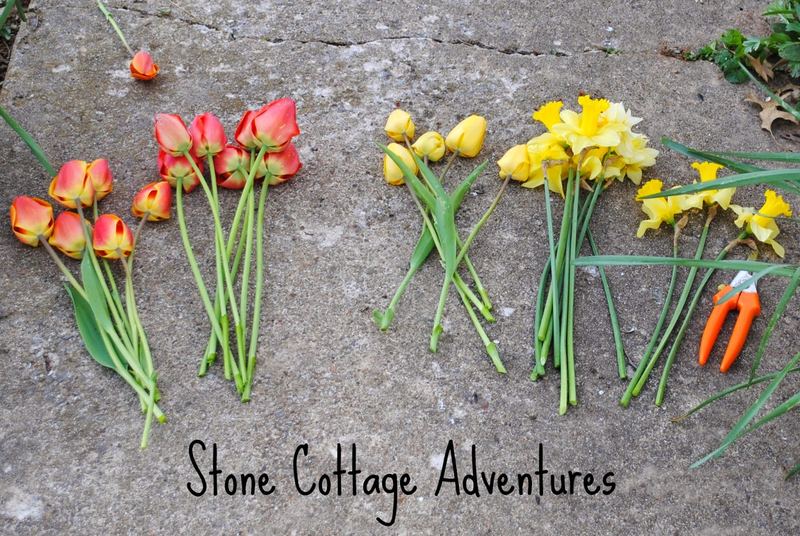
Some daffodils were added to the mix. Singles and doubles, but I stayed with just yellow ones. I am *loving* these colors together! For this type of bouquet I have everything cut before the arranging begins. One hand will be busy holding the stems!
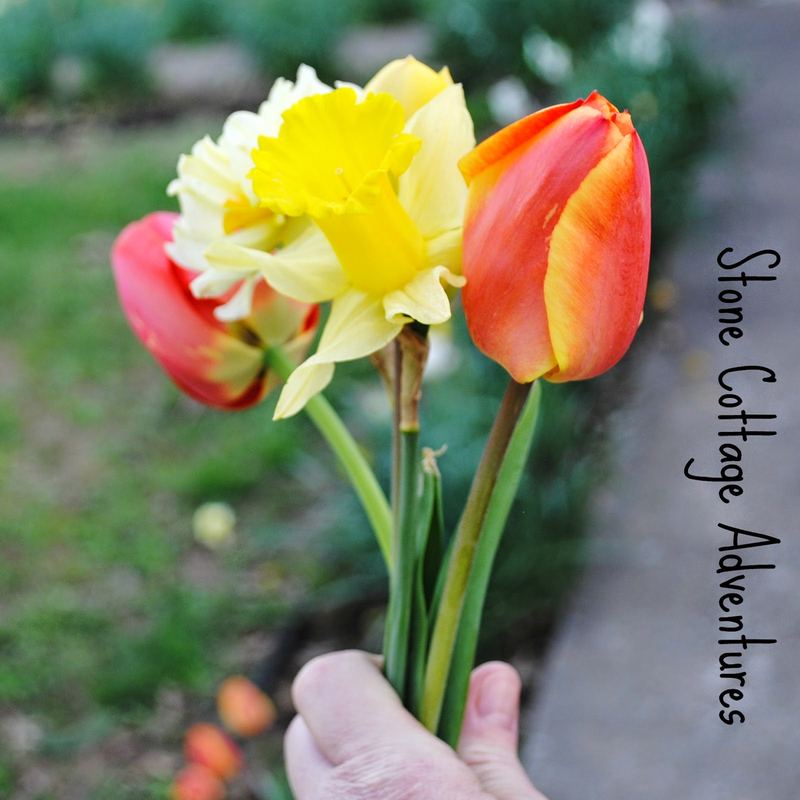
Here’s where we begin. One stem of each type. Keep in mind this will be the center of the bouquet.
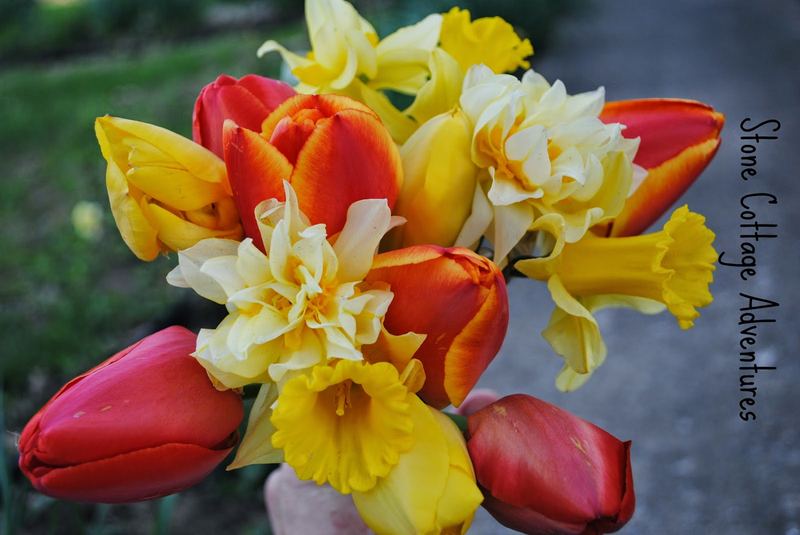
I go around the circle adding flowers, trying to keep like blossoms opposite each other as much as possible. Also, each rotation is placed a tiny bit lower than the one before.
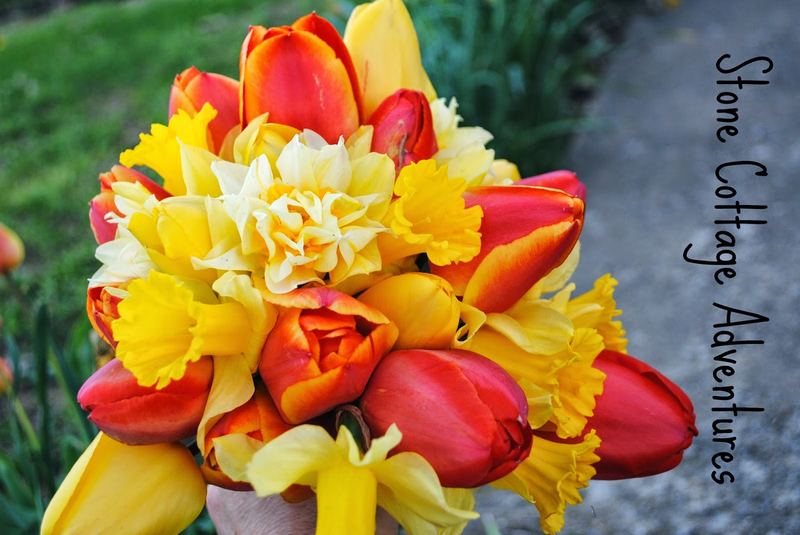
Once my hand feels pretty full, its time to snip all the stems to the same length.
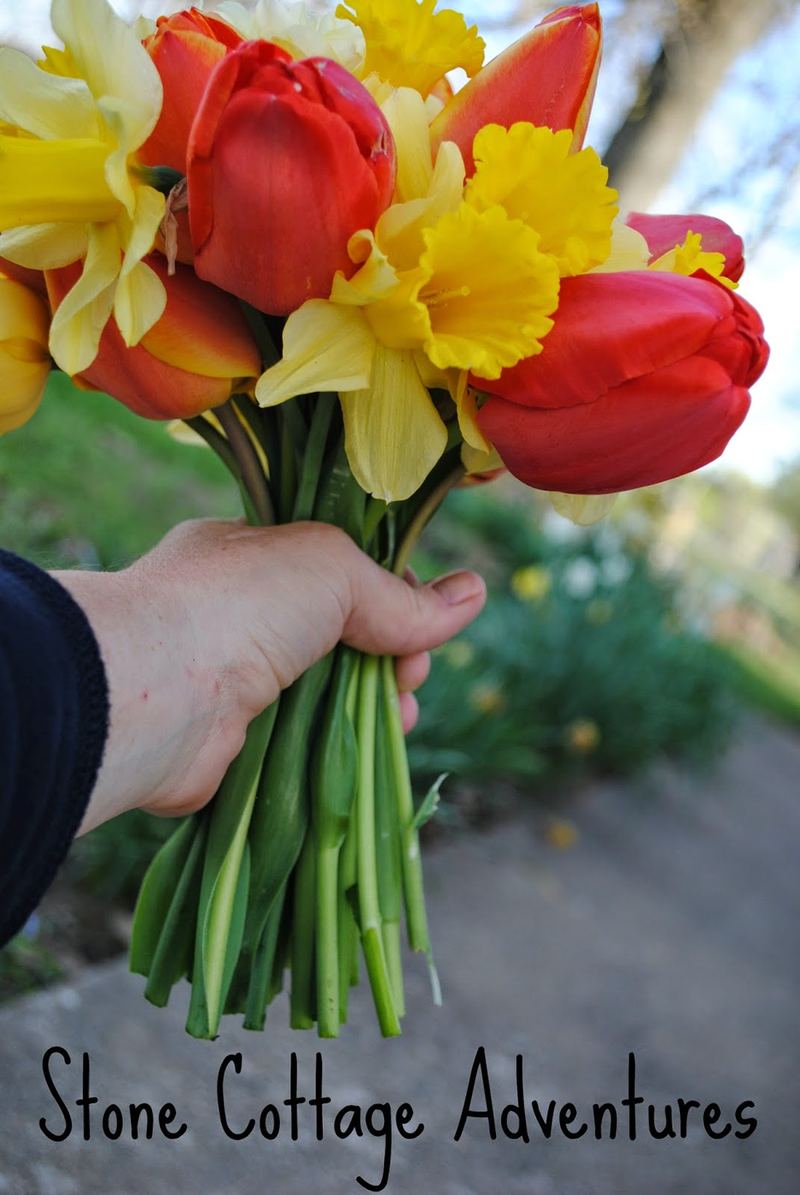
I hold them near the vase to get the appropriate height then gently place the bouquet inside and give them a bit of a fluff.
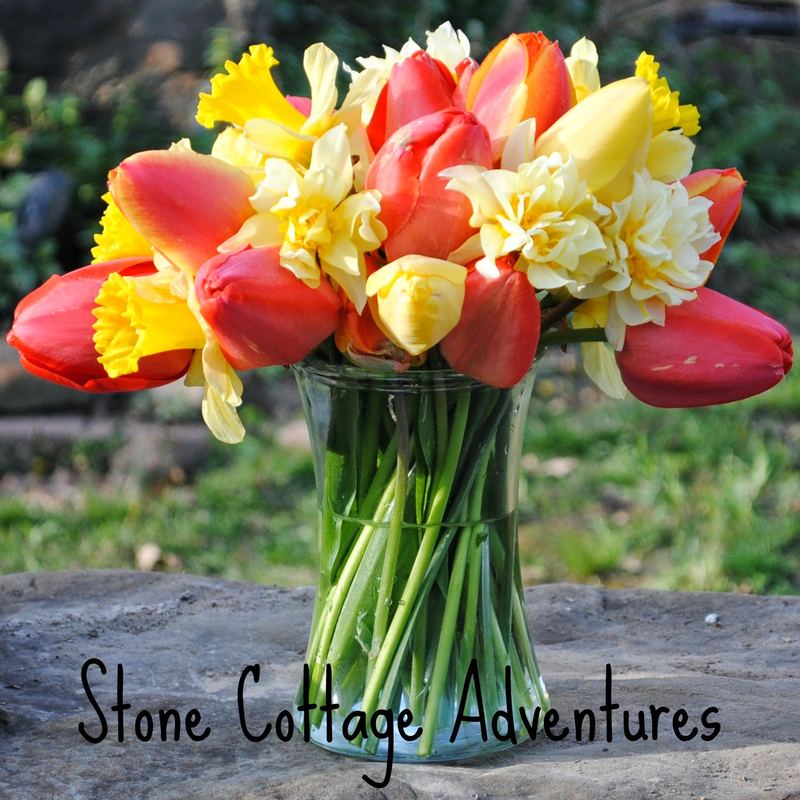
That’s it! Now they are ready to go inside! Those double daffodils really add some texture, don’t they?
What do you love about Spring?
😉 -Marci