French Seams!
This is a skill that I just recently learned in a pillow case sewing class. With lots of practice, I am finally ready to share it with you!
The photos for this tute are from a pillow case. It’s a new sewing addiction. 😉 I promise to keep the directions very general, though, so you can use them for anything. French Seams make the finished item look so polished.
Here we go!
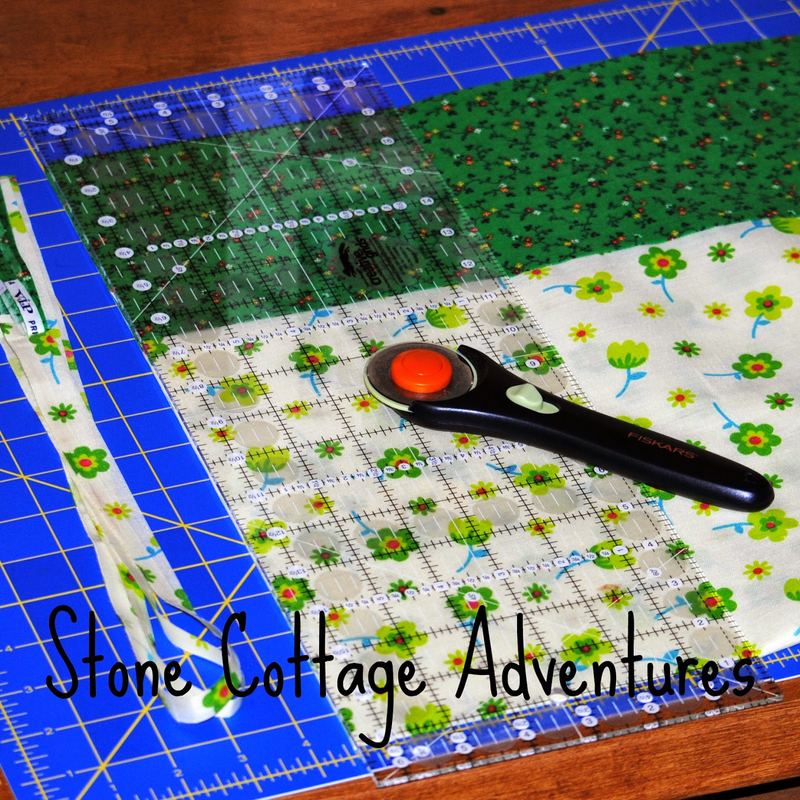
Begin French Seams with a very clean edge. You can see I am using a ruler and cutting wheel.
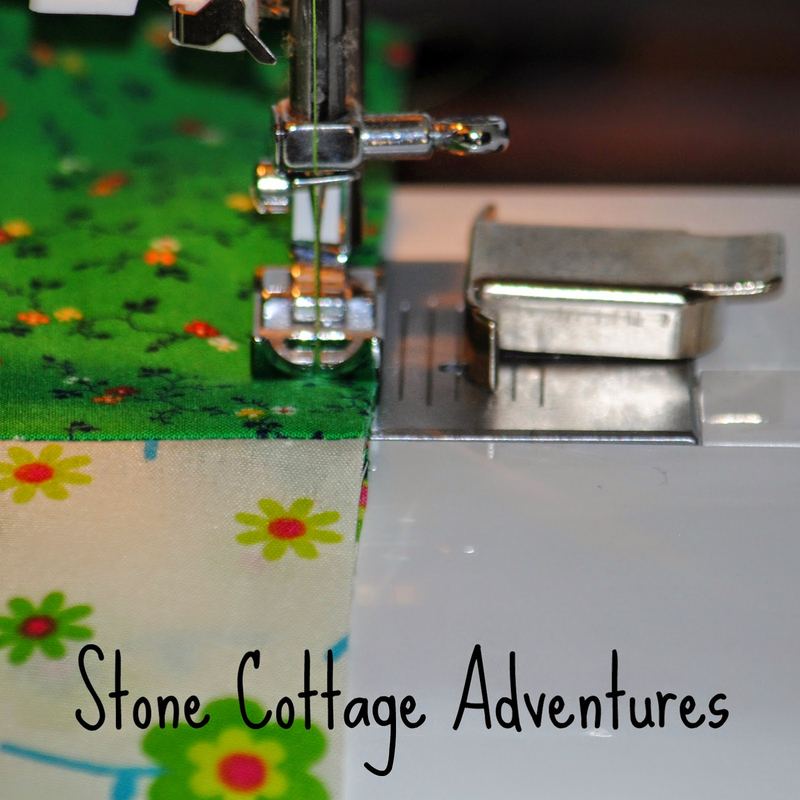
Here’s the crazy part. With WRONG Sides facing, sew a narrow seam.
Turn the item you are sewing to RIGHT SIDES facing (That feels better, doesn’t it?) and press well. I have learned the hard way to iron this seam nice and flat for the next step.
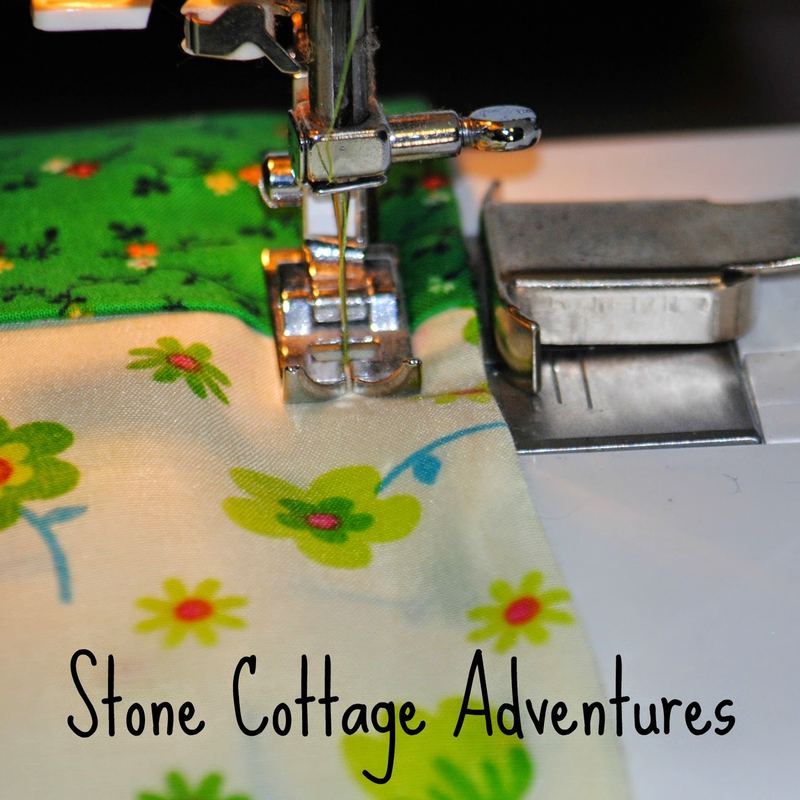
Now sew a wider seam than the first. This completely encases the first one. No raw edges!
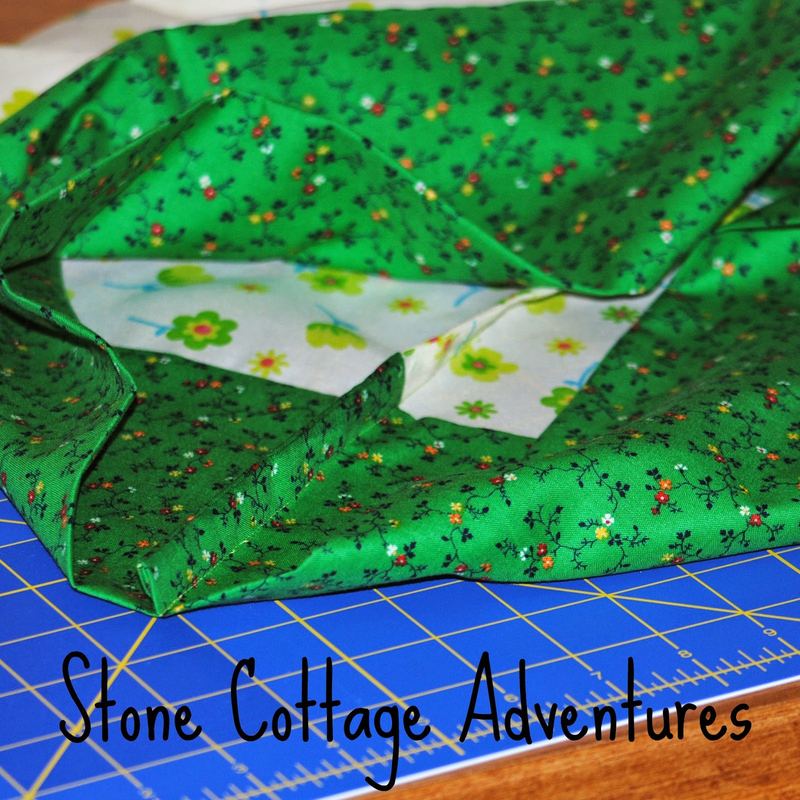
Doesn’t it look nice?
At this point, you can top stitch the seam. My sewing machine won’t accommodate that on the long tube of fabric that is a pillow case. I hope you come back tomorrow when I give the complete tutorial for a pillow case. You, too, can have a new sewing addiction! 😉
How do you like to finish seams?
😉 -Marci