It’s that time of year when you just need a little something to tuck your hair away from your face.
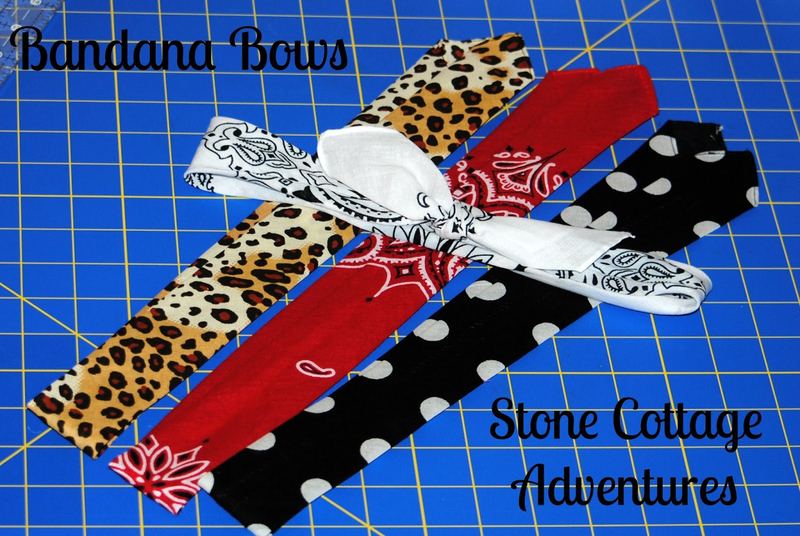
I love all the “Rosie, The Riveter” options girls are wearing this Summer!
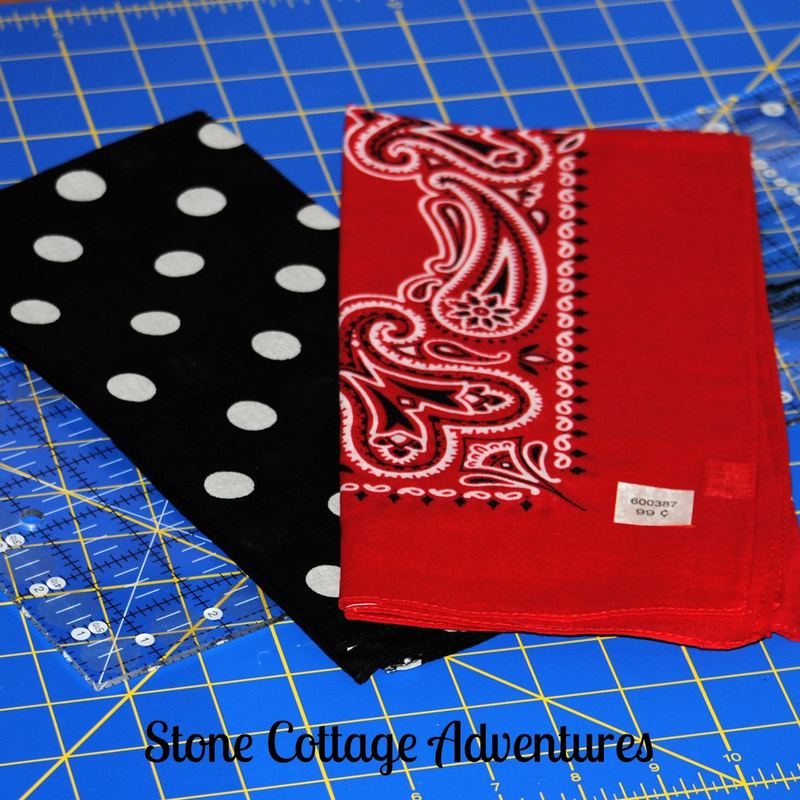
For mine, bandanas seemed like a great option! Hobby Lobby had 22′” x 22″ bandanas for 99 cents each! Score!
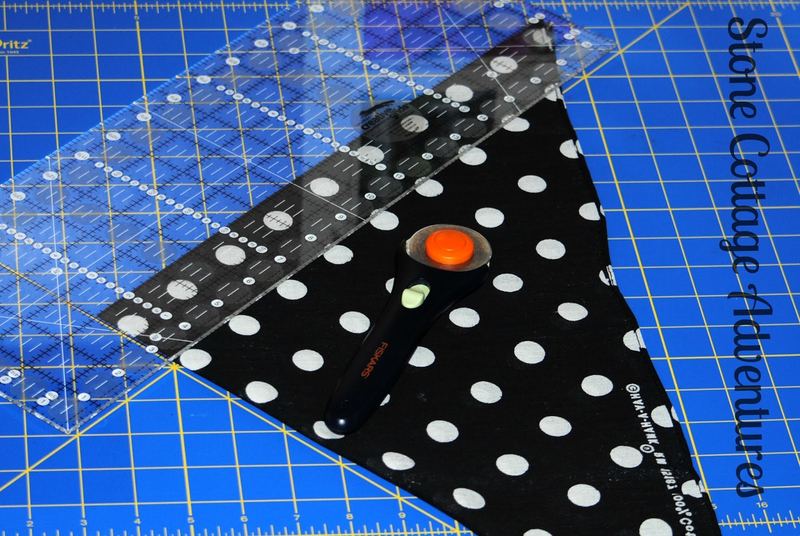
Each one received a quick press with the iron. Next it was folded in half to make a triangle, then folded in half again, still making a triangle. Notice there is writing on one corner of the bandana? You can see it in the lower right corner of the photo. I stayed away from any writing or flaws I didn’t like.
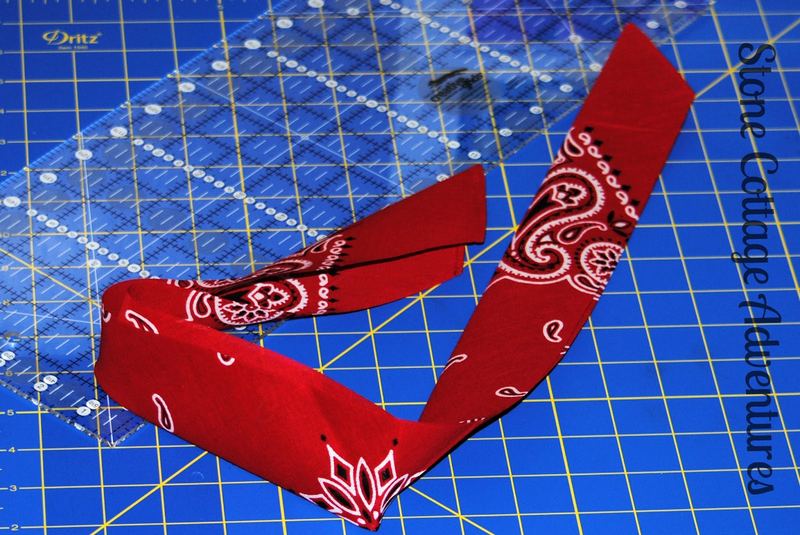
I used my self healing grid and straight edge to cut a four inch strip, (two inches on each side of the fold) the length of the bandana. The cool thing about sewing your own is choosing just how wide or narrow you want yours!
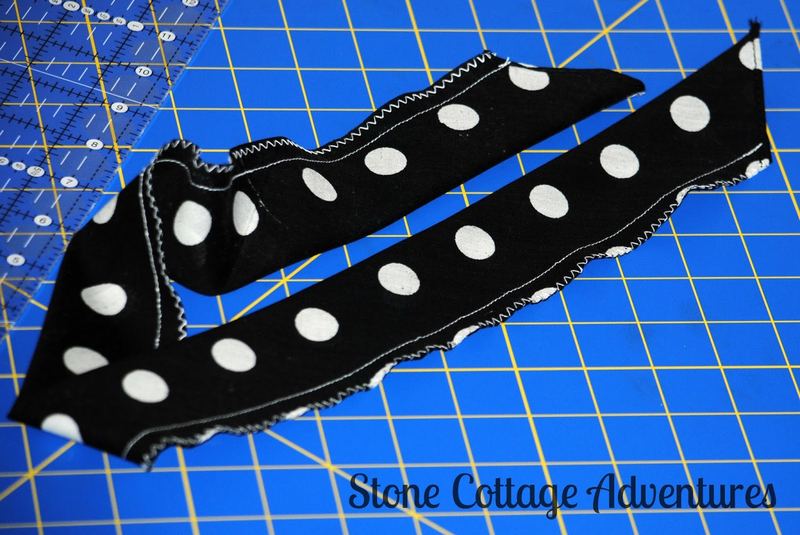
With right sides facing, the long edge was sewn with a straight stitch and then finished with a zig zag. (The lucky ducks with sergers might prefer serging, but I don’t have one.) Leave the ends open. The tips of the bandana are already hemmed, so no need for finishing those! Bonus!
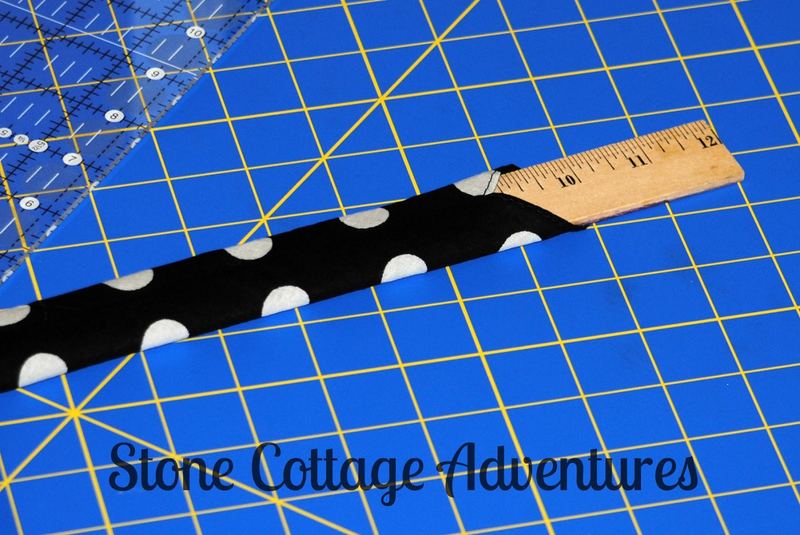
Take the long tube you’ve created, turn it right side out, and press. I like to use a wooden ruler to help me keep the seam straight.
That’s it! We’re finished!
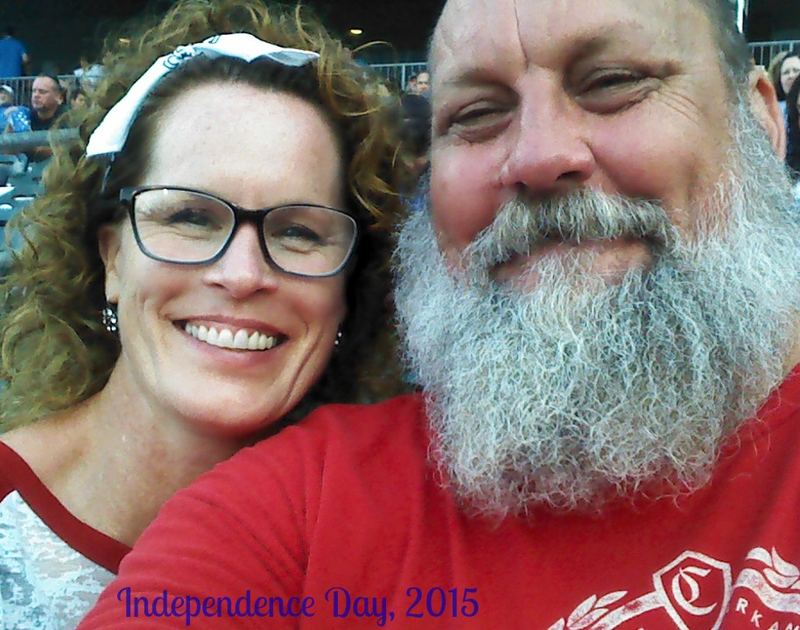
Here we are at a ballgame on Independence Day! It was a fun evening of baseball and fireworks with some sweet friends of ours!

And a close up of the same photo so you can see my cool bandana bow! 😉 It is perfect for keeping my curls out of my eyes! Sometimes I wear it with the bow visible. Other times, I tuck the bow under my hair at my neck and it just looks like a fabric headband.
Two for one! 😉
You can see I chose traditional bandana prints in red and white, but also wanted some polka dots! Who can resist a little leopard? Not me! These have become my “go to” hair accessory for the Summer!
How would you wear them?
😉 -Marci