Disclosure: this post contains affiliate or sponsored links. If you buy through them I may earn a small commission at no extra cost to you.

This little twig bouquet was the centerpiece for a baby shower we hosted in January. The theme was woodland babies. Would you like to see how I arranged it?

Here’s the tutorial. 😉
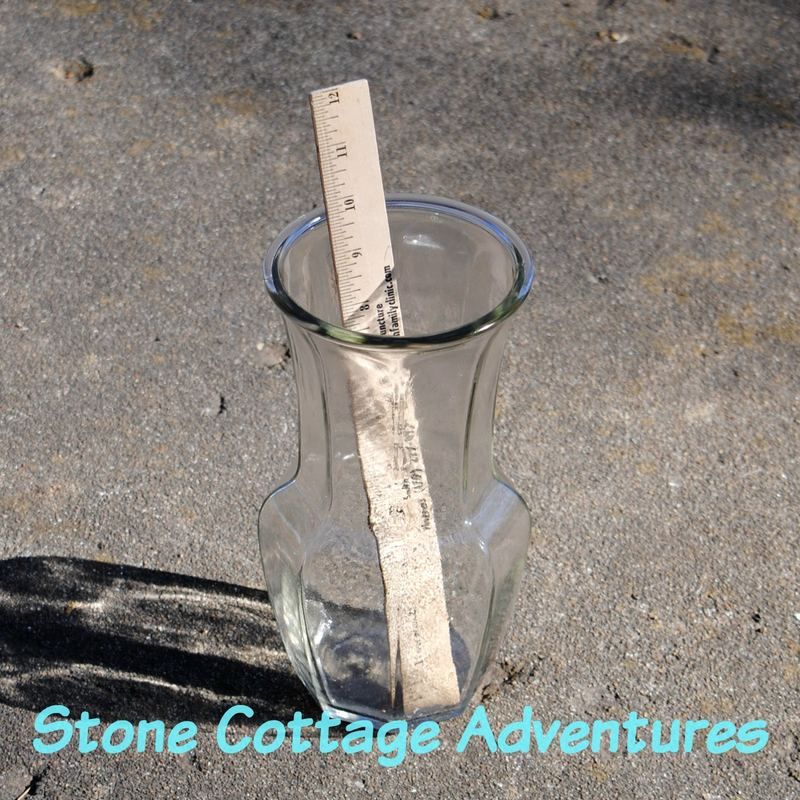
Of course it begins with a vase. You can see this one is 10 inches tall. For this type of arrangement, I prefer to work with containers that have a narrow neck.
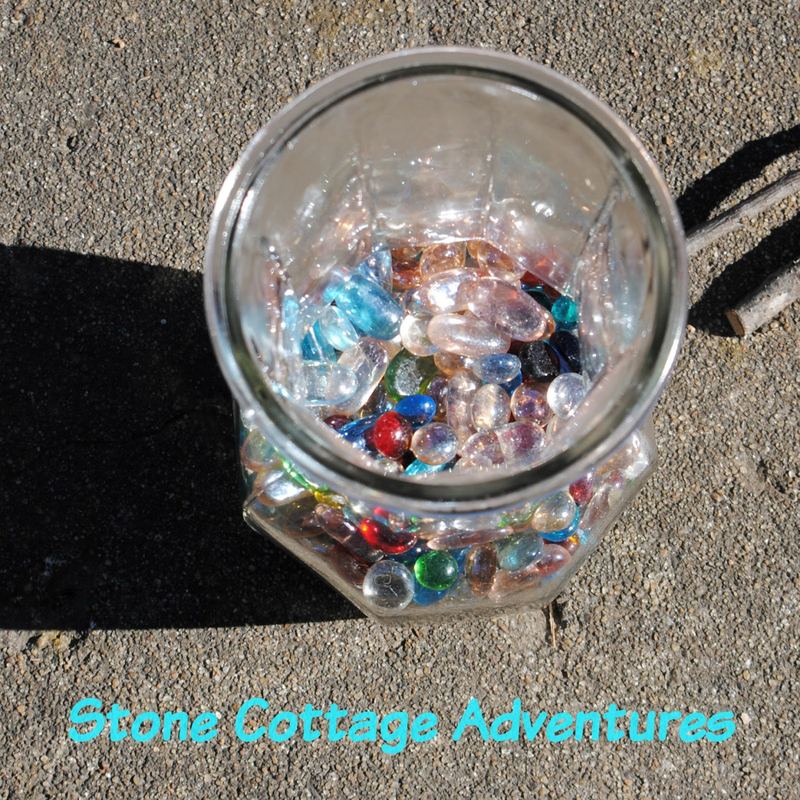
Baby showers should be colorful, right? 😉 I added mult-color glass beads for weight as well as holding stems in place. (No water will be needed.) Beads don’t work well for soft stems, but the twigs will be OK. It will require a bit of twisting back and forth as the branches are pushed into the beads.
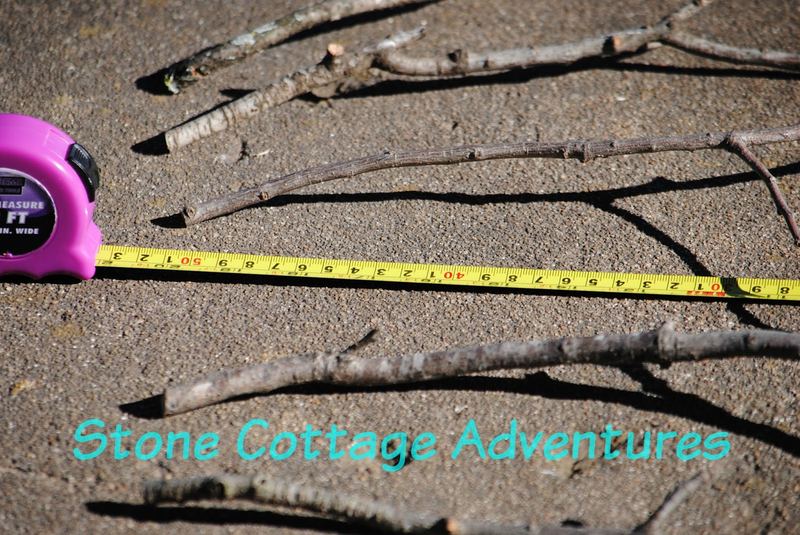
A good rule of thumb for height proportion is keeping the finished bouquet above the container between one and two times as tall as the vase. So, with the vase at 10 inches, my finished arrangement should be 20 to 30 inches tall.
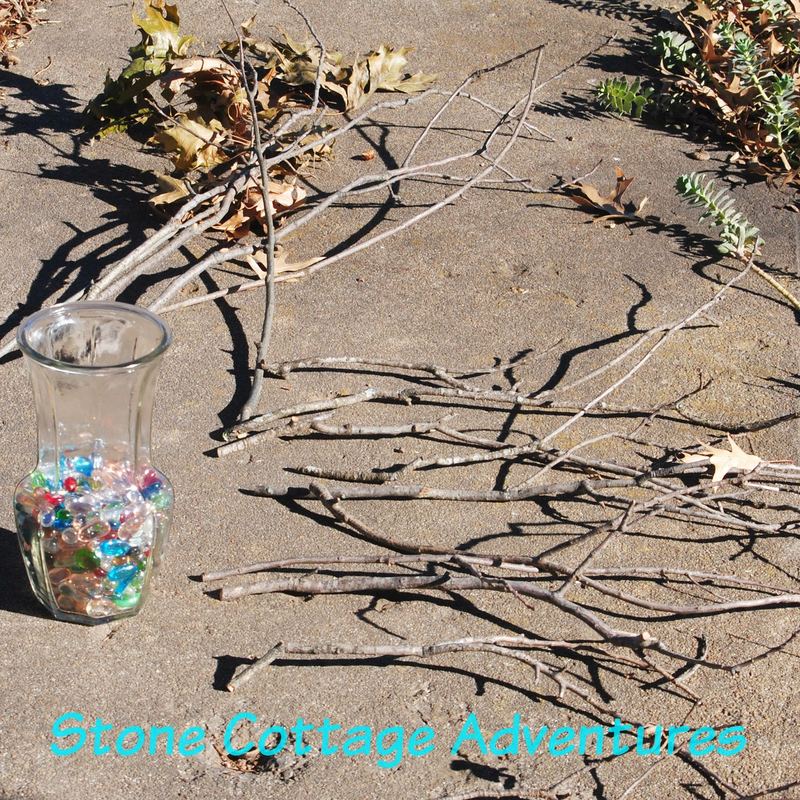
We recently had some lower limbs removed from a grand old oak tree in our front yard. I snipped these twigs from it. and then spread them across our sidewalk to see the shapes. I left a few leaves here and there.
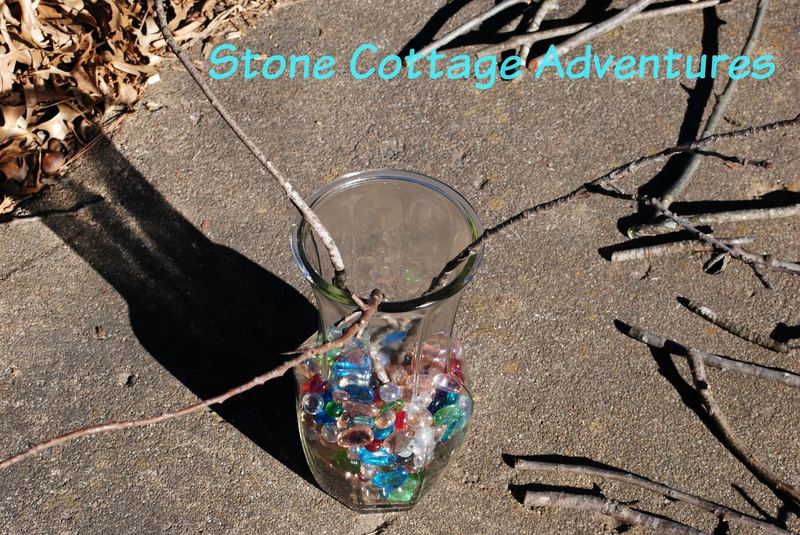
Using the curved ones first, I begin working. Three are pushed down into the glass beads, equal distance apart around the vase with stems crossed.

Three more are pressed into the glass beads equal distance apart with stems crossed. Repeat until full. 😉 As I get closer to the center, I use the straighter twigs.
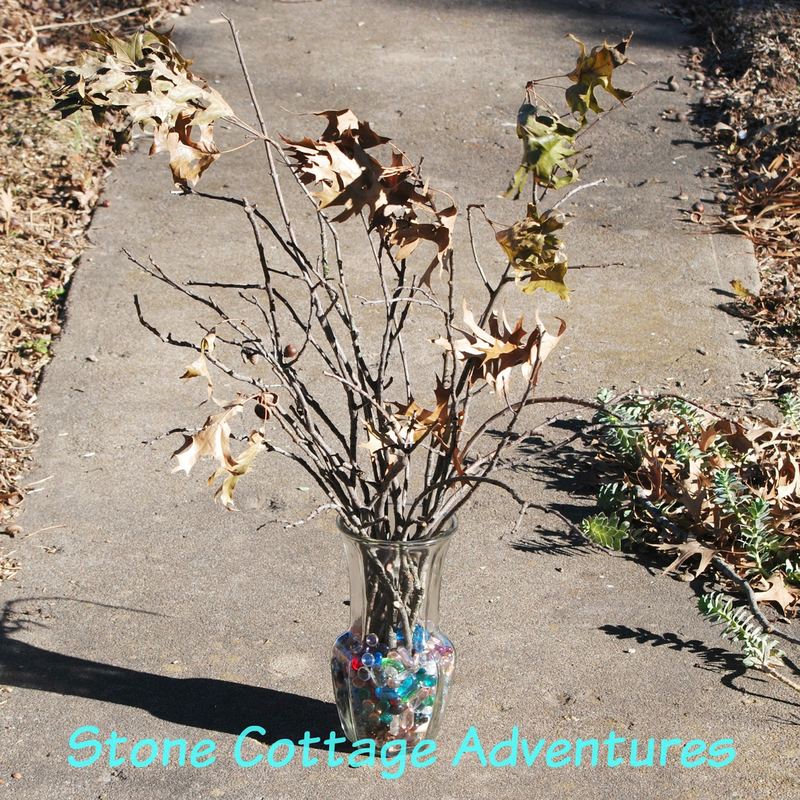
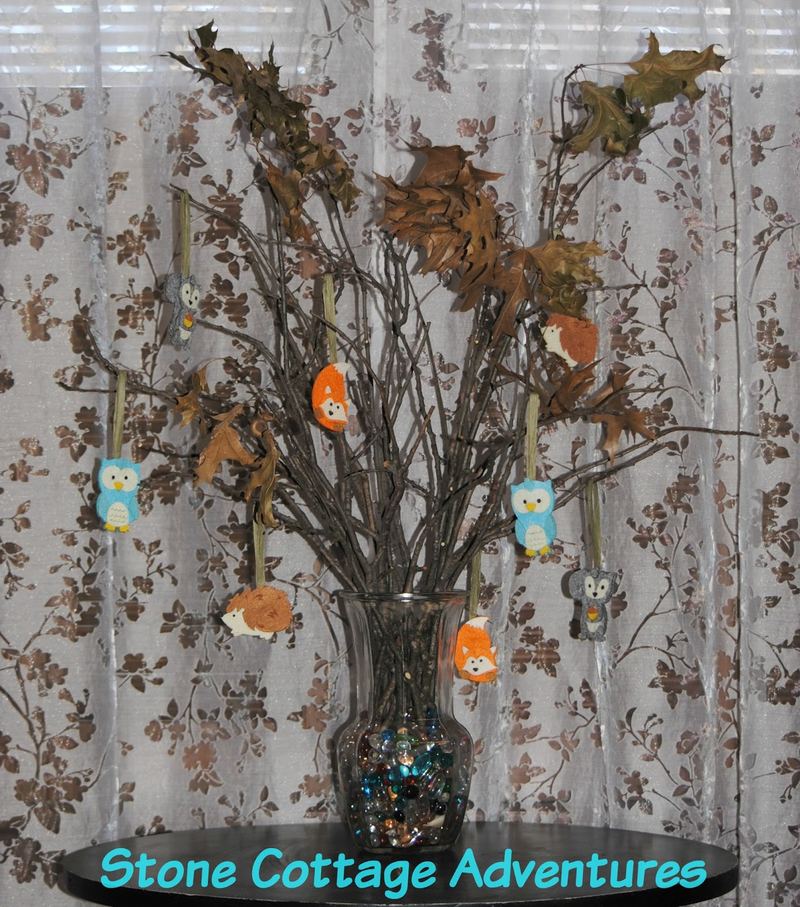
Once the bouquet was this big, I did some snipping and trimming, just to even the sides a bit. The wind is blowing the leaves. 😉 Now for the fun part!
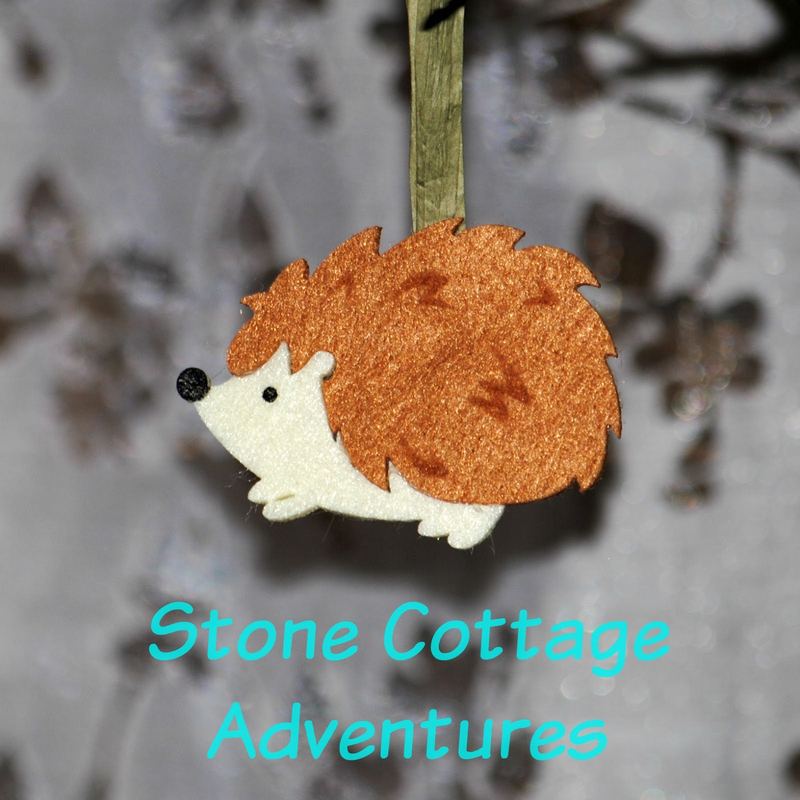
How cute are hedgehogs?! I purchased these felt ornaments the second I saw them.
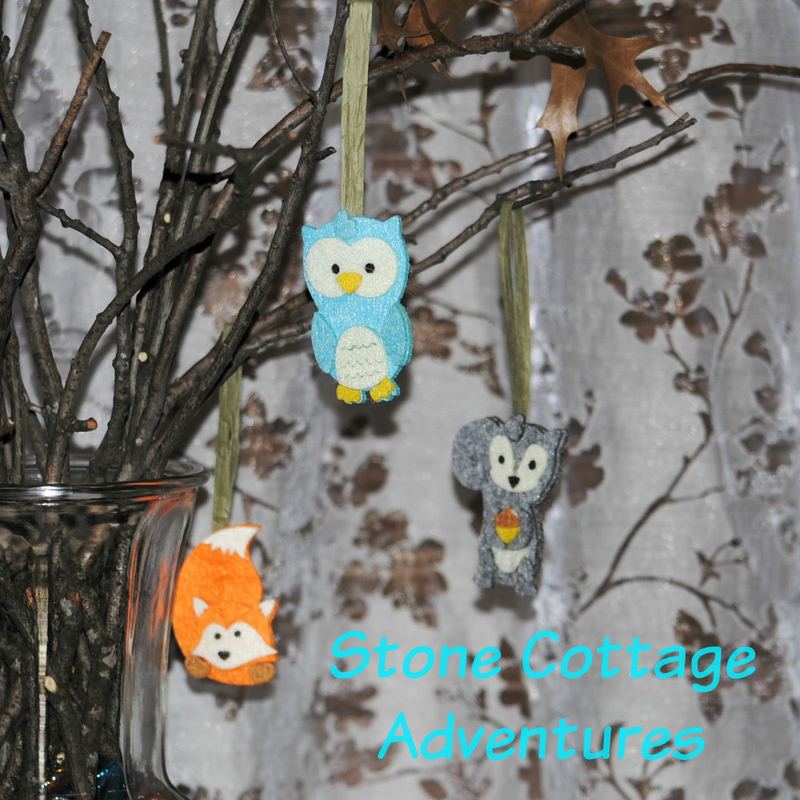
Woodland babies were snuggled here and there using a small loop of raffia pinned on the back.
A few things were added to complete the centerpiece. The evergreens shrubs are small pots of rosemary. The touch of lace is a crocheted collar that belonged to my daughter when she was a baby. I also added a ceramic fawn and a huge acorn.
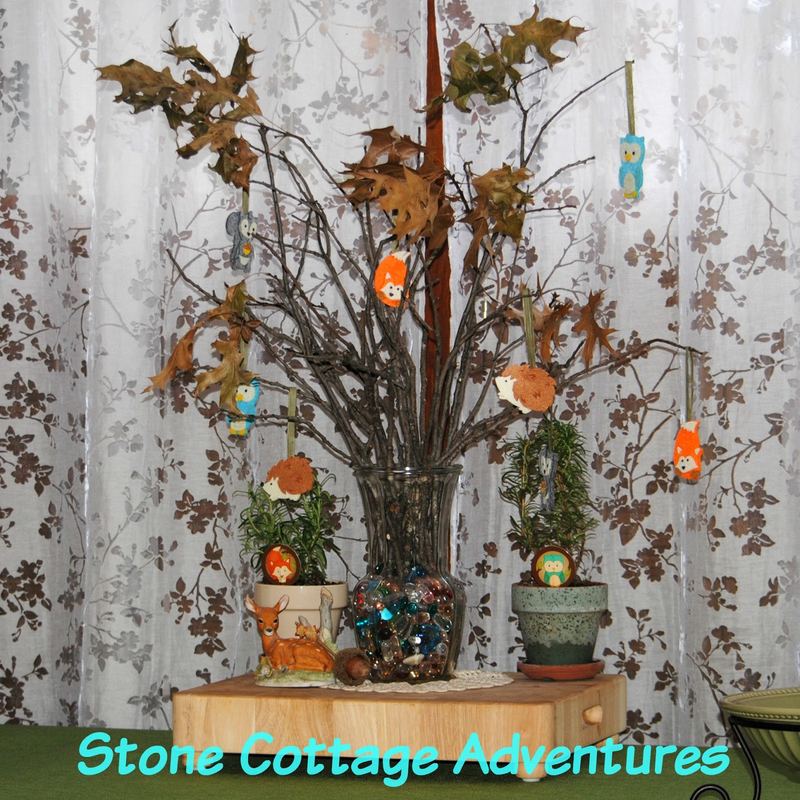
A large chopping block added some height.
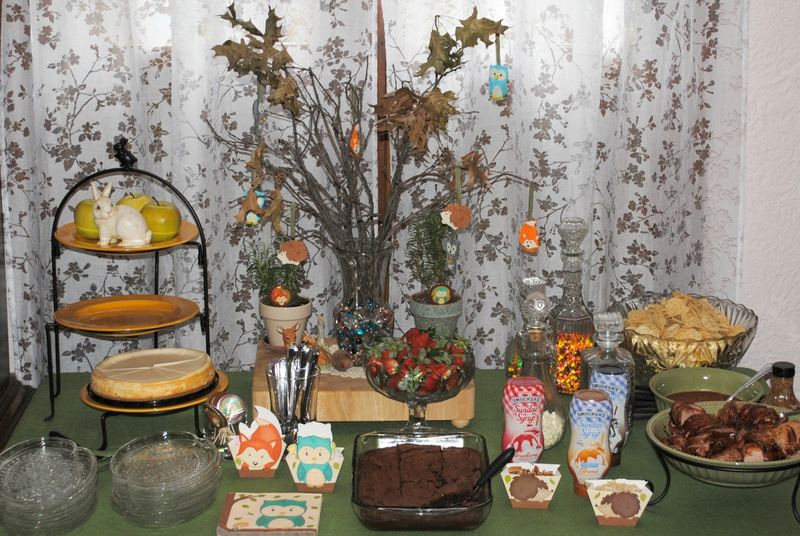
Here’s my centerpiece and all the tasty treats!
Previous baby shower posts:
Ten Steps to Hosting a Stress Free Baby Shower
Cheesecake Bar
Aunt Margie’s Punch Recipe
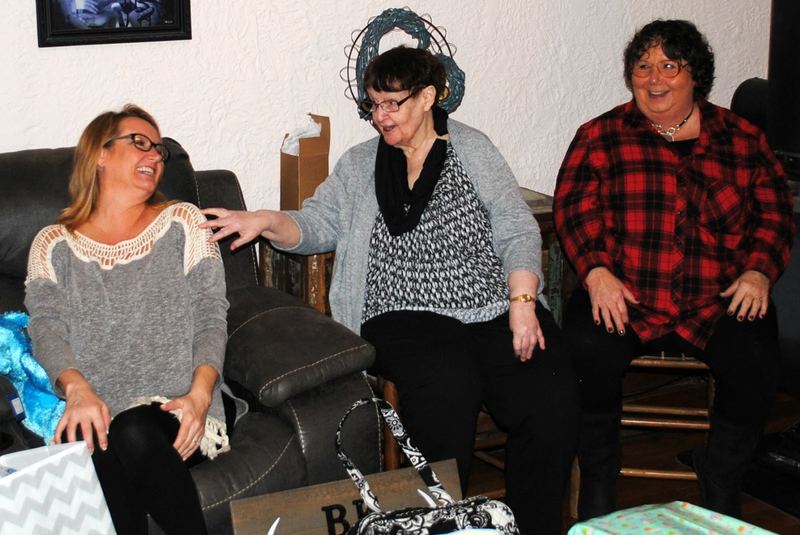
We had such a fun day! What do you enjoy most at baby showers?
😉 -Marci