Disclosure: this post contains affiliate or sponsored links. If you buy through them I may earn a small commission at no extra cost to you.
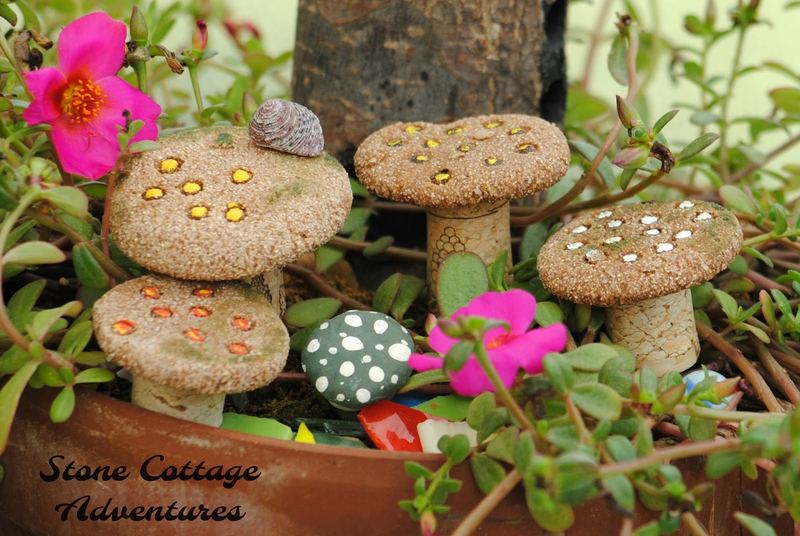
All fairies have pretty little mushrooms in their gardens, right?
Just this year, I have fallen into a fun little Fairy Garden phase. If you would like to see my past posts, here they are:
My Fairy Garden
DIY Fairy House
Fairy Garden Update
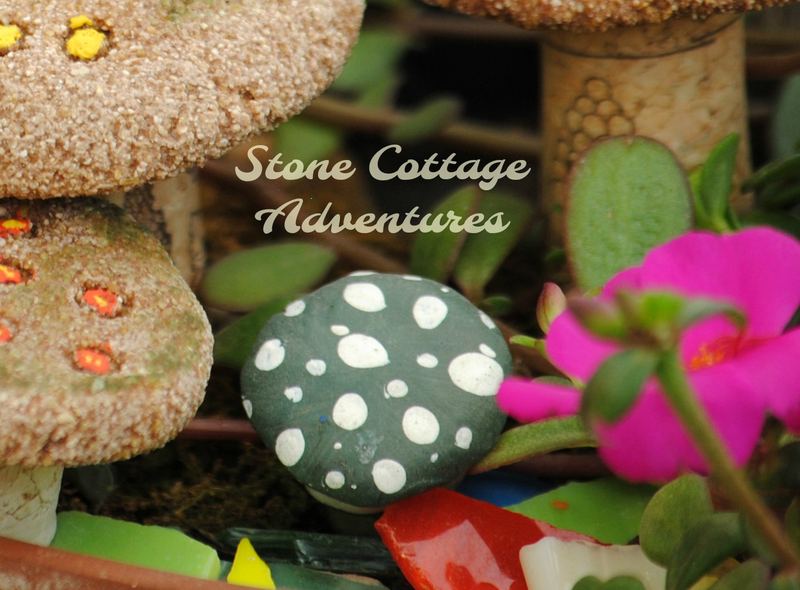
My inspiration for today’s project is this tiny green toadstool with lovely white spots, a gift from our neighbor. She found it at a local farmer’s market.
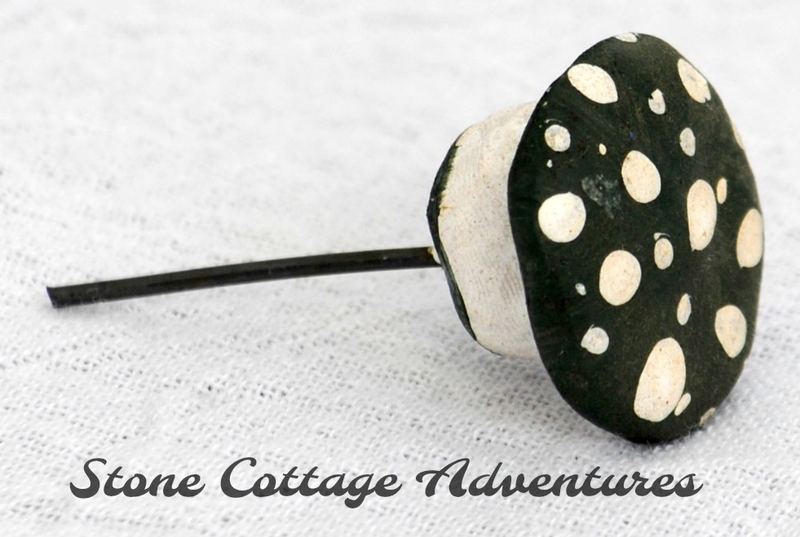
Not only is it adorable, it’s a simple design. How often do you look at something and think “I can make that”?
After digging thru my old Girl Scout Leader activity books, I modified a clay recipe for the idea buzzing in my brain. I want them to look gritty and earth tone. Here it is:
Clay Recipe
1/2 Cup Self Rising Flour (it’s what I had)
1/2 Cup Cornmeal
1/3 Cup Water
1/4 Cup Salt
1 Tablespoon Cocoa (optional)
Place all dry ingredients in a mixing bowl. Add the water slowly as you stir to form a clay texture. Depending on humidity, you may need a little more or a little less water. I am using the cocoa for color. For a darker or lighter brown, adjust the amount of cocoa to your preferred color.
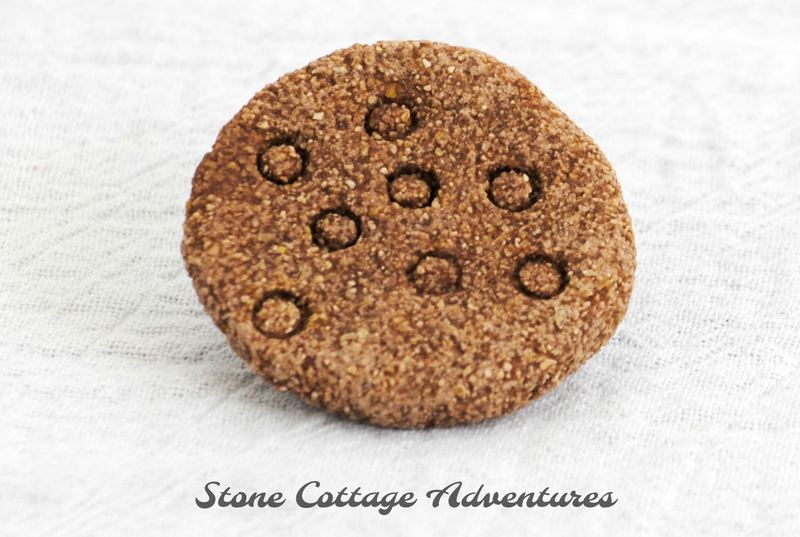
I rolled the clay into balls and pressed to flatten. The tip of a drinking straw was used to create the textured dots. At this point, they need to be dried. I placed mine in the oven at a very low 180 degrees for a few hours, but leaving them to air dry works, too. It just takes a little longer.
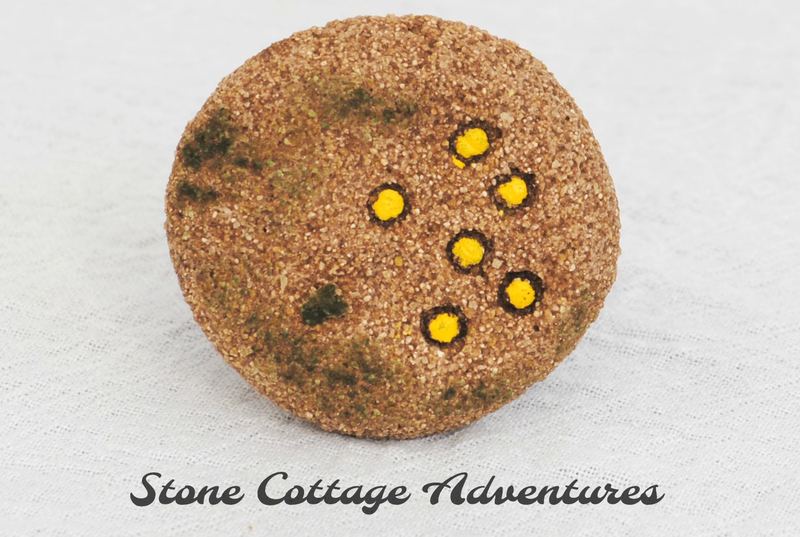
Once dry, a dark green ink stamp was rubbed across the top and around some of the edges. For the dots, I added just the tiniest bit of paint from my stash.
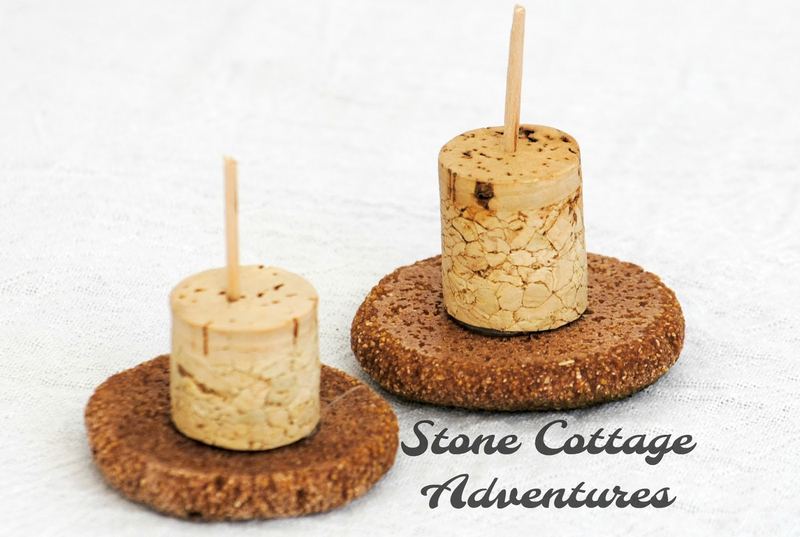
The mushroom stems are wine corks cut to varying heights and hot glued to the bottom. I also broke some toothpicks in half and pressed them into the corks. These give my cute fungi a little more stability in the soil.
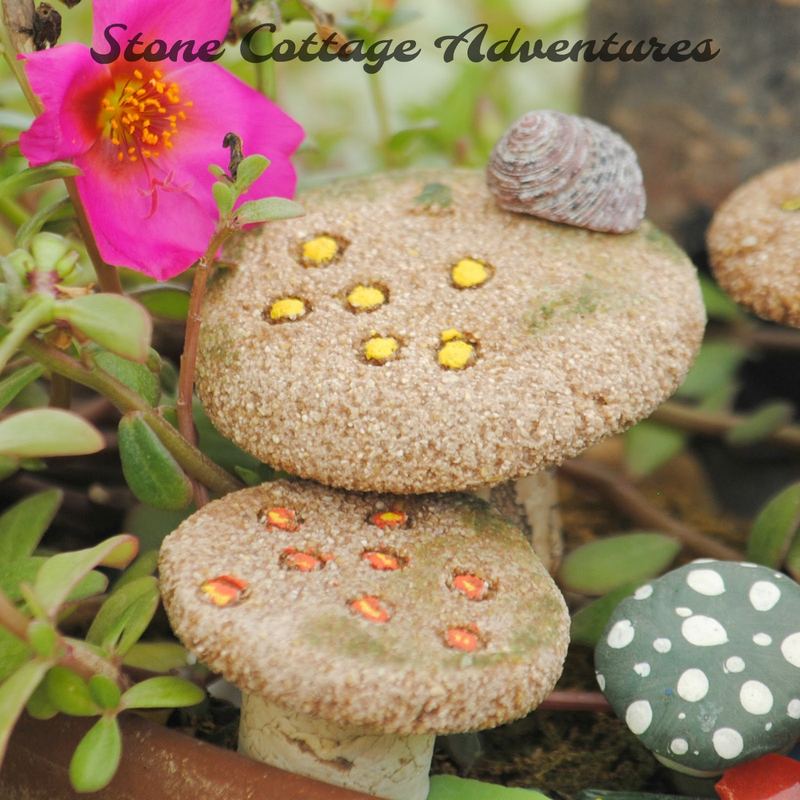
None of them are exactly the same size, color or texture but together, they are an adorable toadstool family.
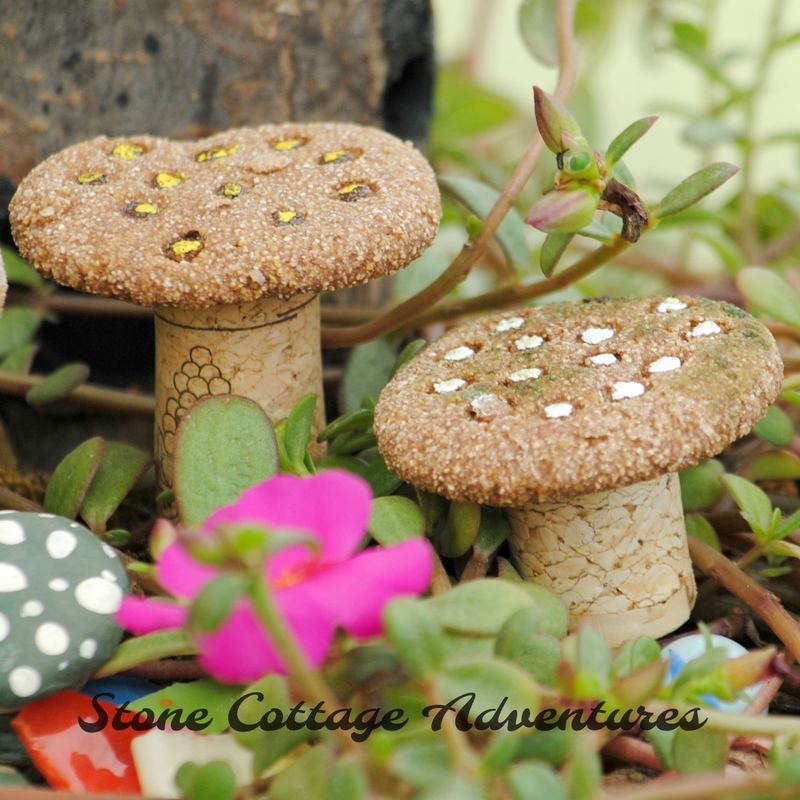
Do you think the fairies will enjoy them? I’m certain my grand children will! 😉
Everything for this project was already on hand somewhere around our house.
Clay Recipe Ingredients
Wine Corks
Toothpicks
Paint
Ink Stamp Pad
(Note: I doubt these will hold up to water, so they will be removed when the plants are tended.)
Every month a group of bloggers are challenged by C’mon Get Crafty to create a new craft or project from their own stash of goodies! Check out some awesome creations you might be able to make from your own stash! #CraftRoomDestashChallenge
[clickToTweet tweet=”What crafty creations could you make today from YOUR craft stash?! #CraftRoomDestashChallenge” quote=”What crafty creations could you make today from YOUR craft stash?! #CraftRoomDestashChallenge”]
If you’d like to join in the Craft Room De-Stash Challenge, you can request to join our Facebook group here!
INLINKZ: