Disclosure: this post contains affiliate or sponsored links. If you buy through them I may earn a small commission at no extra cost to you.
Our small town is filled with sweet people. We have the cutest little neighbor who has become our honorary grandchild!

Her parents were incredibly kind and patient to watch after our crazy zoo when we were away for vacation so I wanted to make a small present for their little one.
You might remember the Custom Camper Kitchen Cloths I made for them after they purchased an adorable older travel trailer.
Well, these iron on letters are leftover from that project.
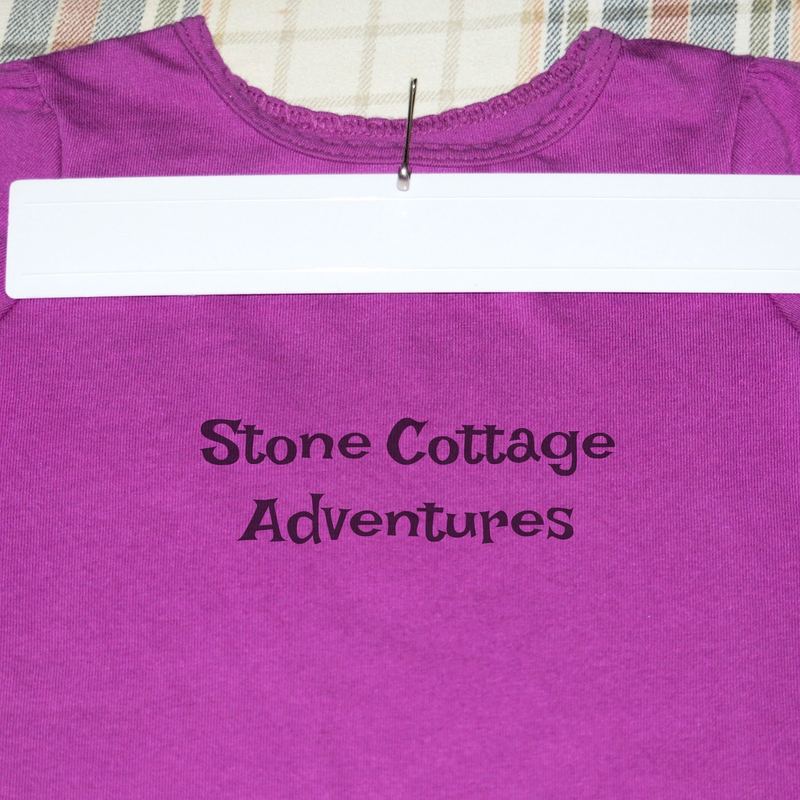
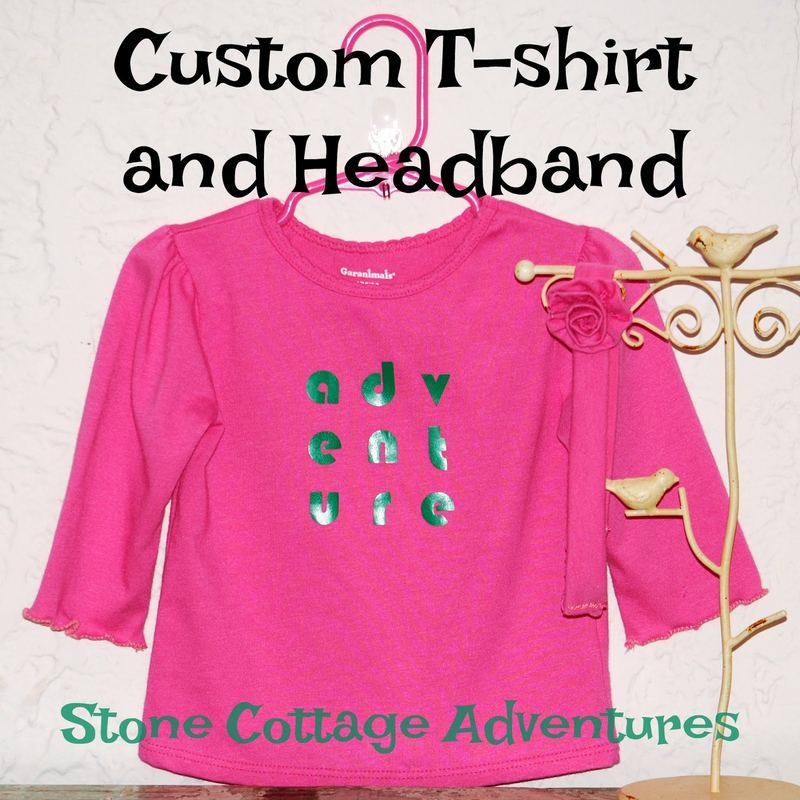
I purchased a couple of plain toddler size T shirts from a big box store.
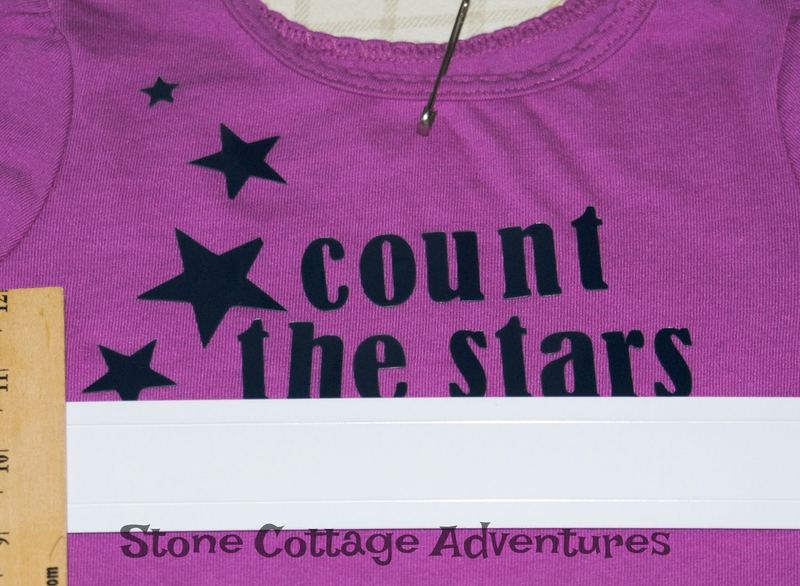
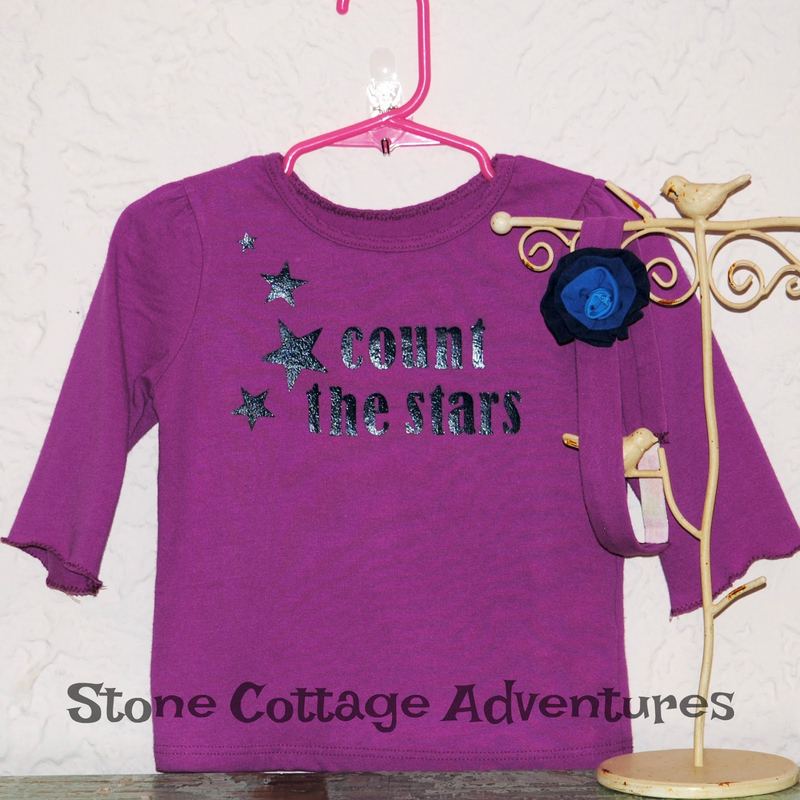
A safety pin marks the middle of the collar while rulers help me align the stars and letters and then the iron does the rest of the work. One problem though, the sleeves were too long for our grand little cutie pie. Have you ever tried to keep sleeves cuffed on a wiggly toddler? It’s difficult! So…
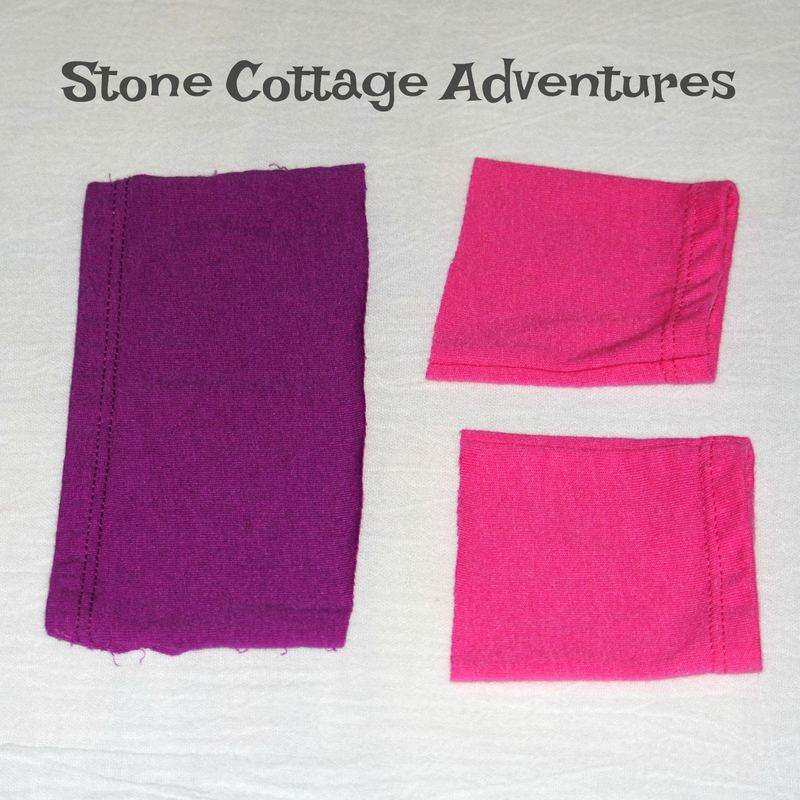
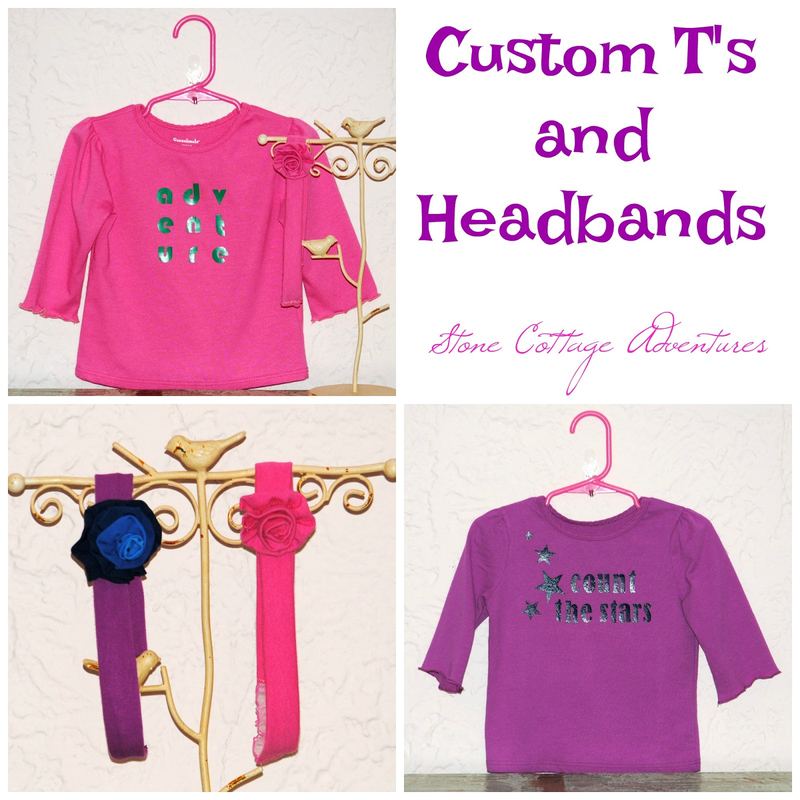
The sleeves were chopped and zigzag stitched for a hem, but now I have more crafty material, right? What to do? 😉 The only answer is make an accessory! It’s easier to see how the headbands go together on the purple one, but they are pretty much the same.
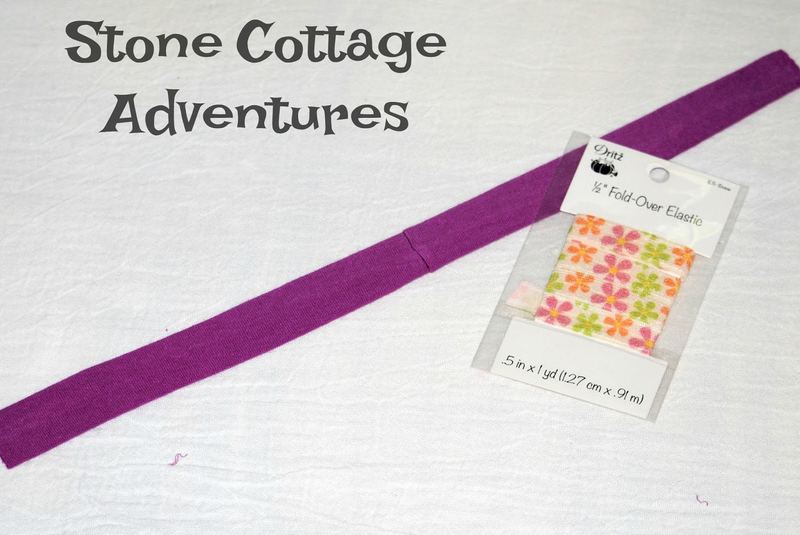
After carefully picking the side seam and cutting off the hem, I sewed the two fabric ends together and then into a tube. The head band circle was completed to cute neighbor size using pretty floral elastic.
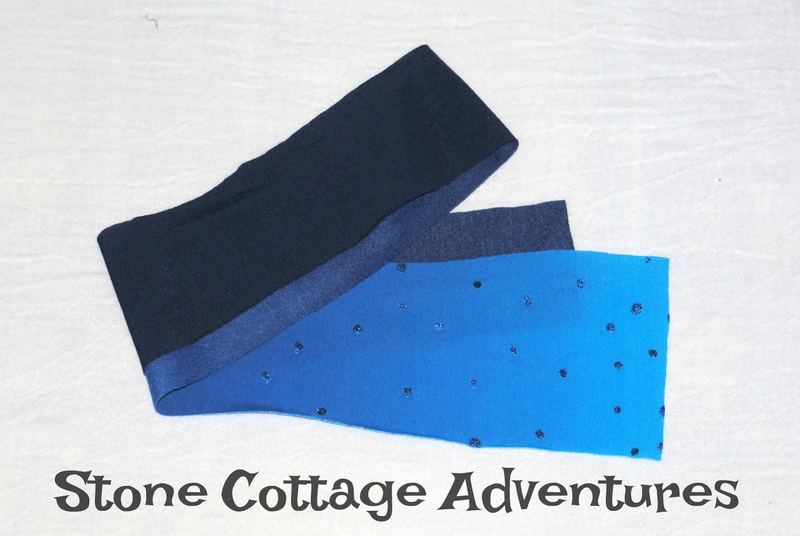
For the rosette, I found a scrap of fabric leftover from This Project. It looks kind of starry, don’t you think?
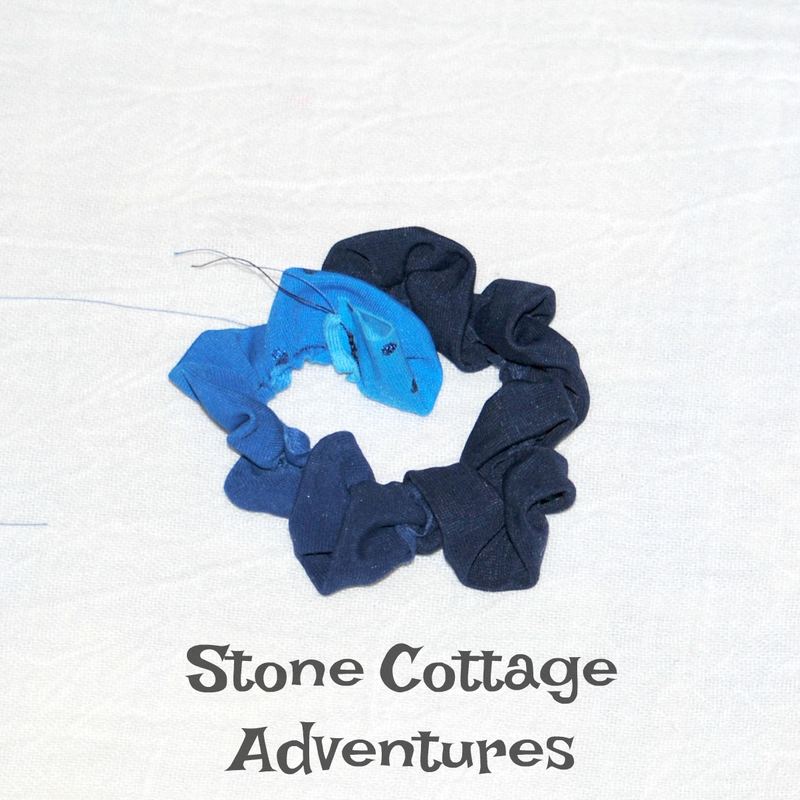
Using This Tutorial I wrote years ago *Ta Dah* we have a pretty little flower
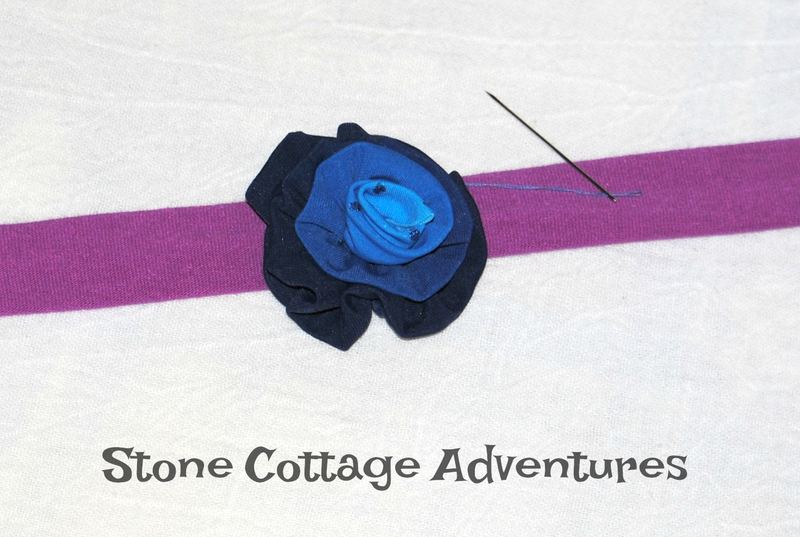
which is hand stitched firmly to the head band at the center seam.
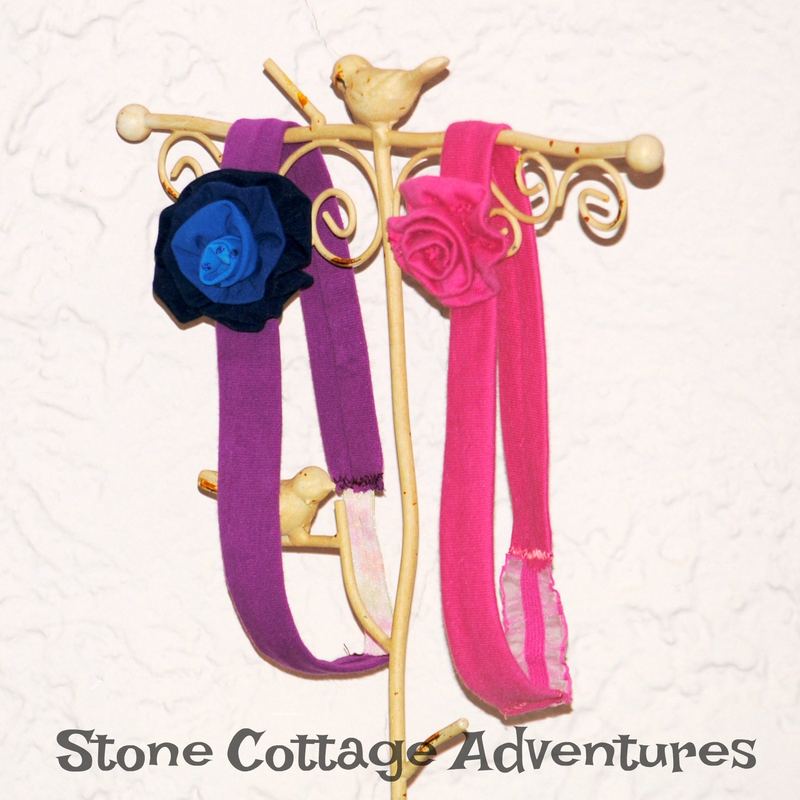
For the pink headband, I actually used the cut away hem of fabric to make the little rosette and the elastic is pink with ruffles.
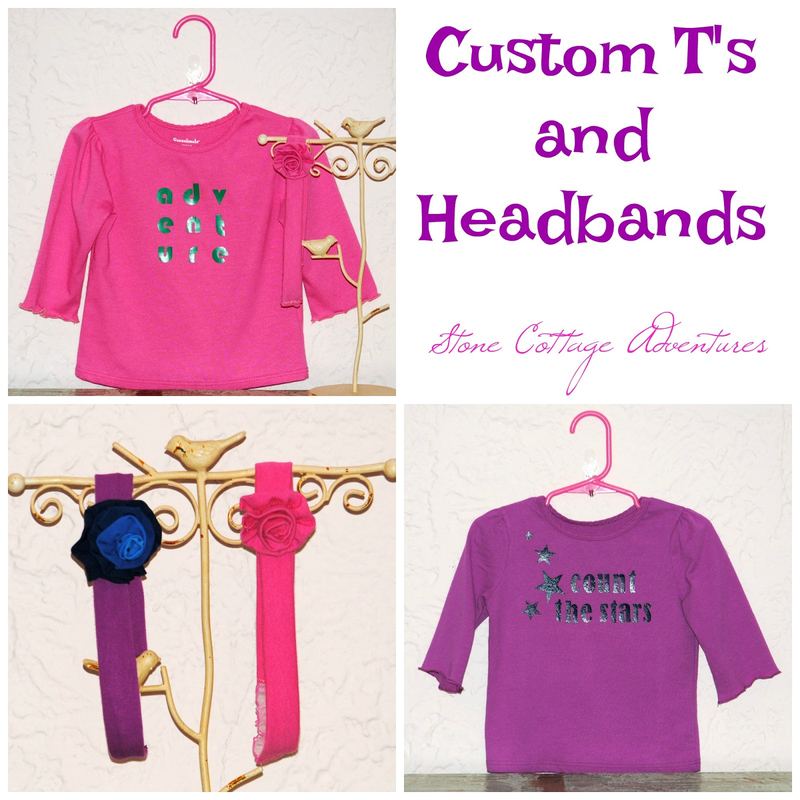
The gifts were a big hit!
What’s happening in your neighborhood?
😉 -Marci