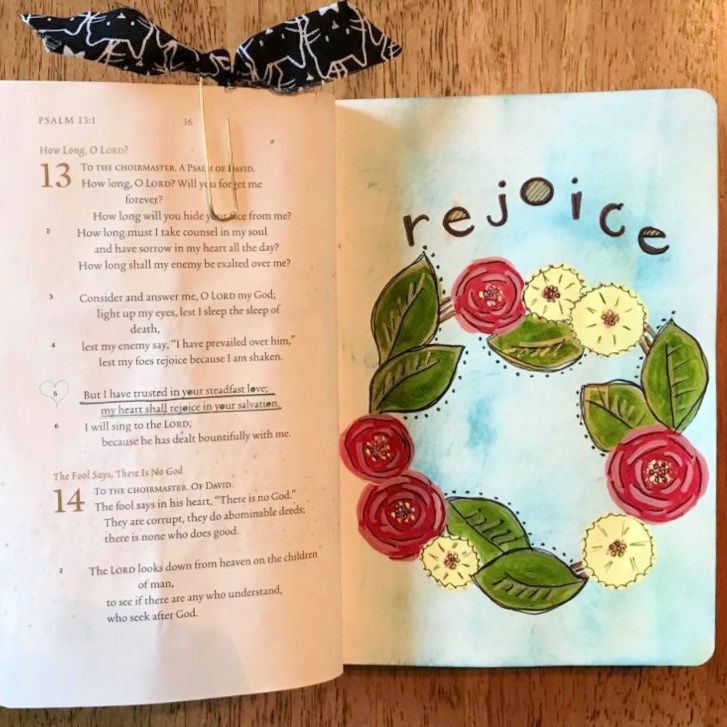
Psalm 13:5 But I have trusted in your steadfast love; my heart shall rejoice in your salvation.
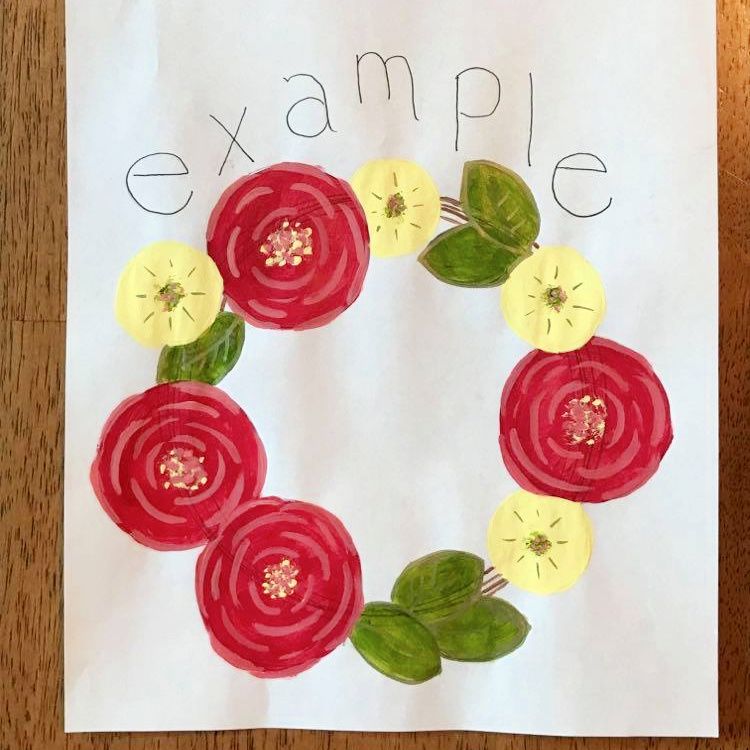
One more time on that scripture… Psalm 13:5 But I have trusted in your steadfast love; my heart shall rejoice in your salvation.
Do you remember my tutorial last week for Simple Circle Flowers? They will be used to build this pretty wreath!
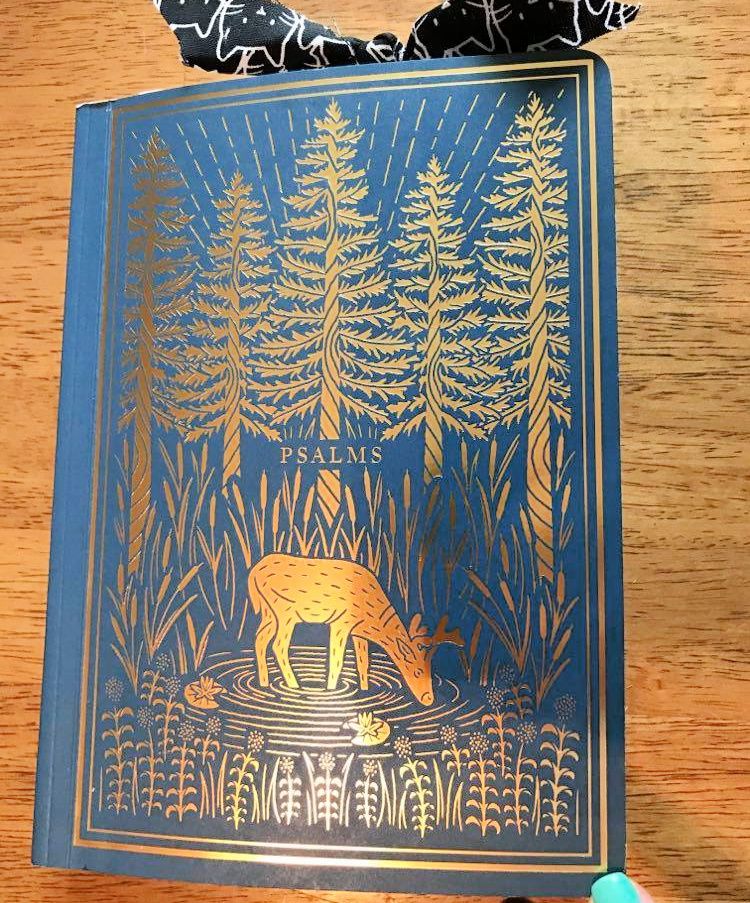
I’m journaling in this beauty today, the Illuminated Scripture Journal from Crossway. It is interleaved, meaning every other page is blank, so there’s plenty of space for my scribbles!

Junk mail is placed behind my page to protect the next one. My background is a swirl of blue and green Distressed Oxide.
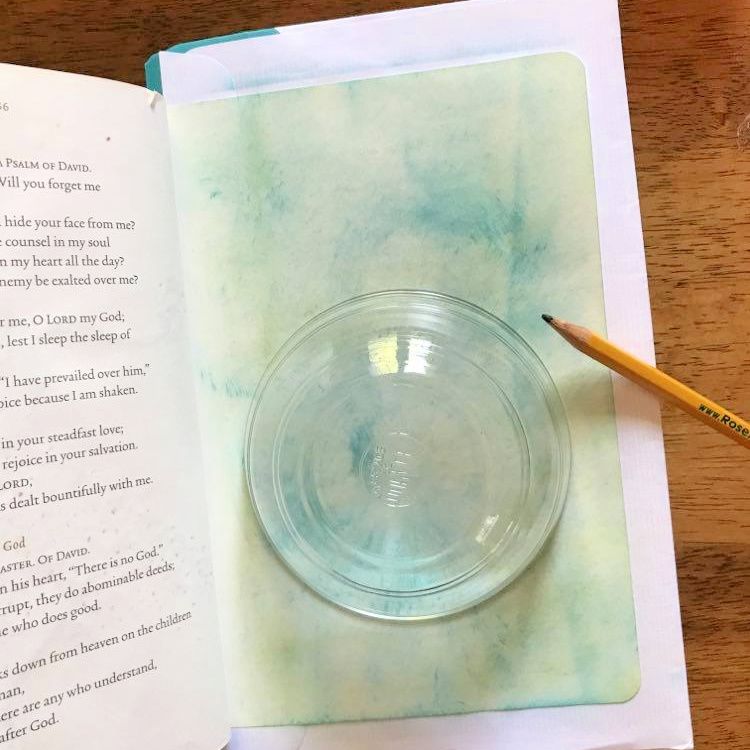
When working in my Bibles, I very lightly lay out my idea in pencil, making the marks difficult to photograph, so you’ll be seeing the steps on an example page.

This set of nesting bowls are perfect for circles. They are sitting on regular 8.5 by 11 inch copy paper for scale.
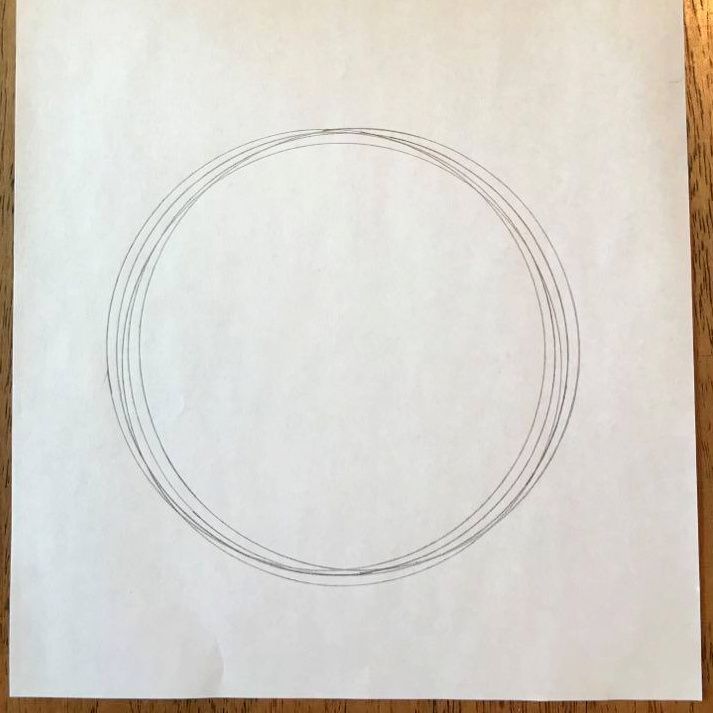
With the help of a bowl, a few circles are traced, wiggling a little to the left and a bit to the right and a couple moved somewhat diagonally. Here is the base of twisted vines for our wreath.
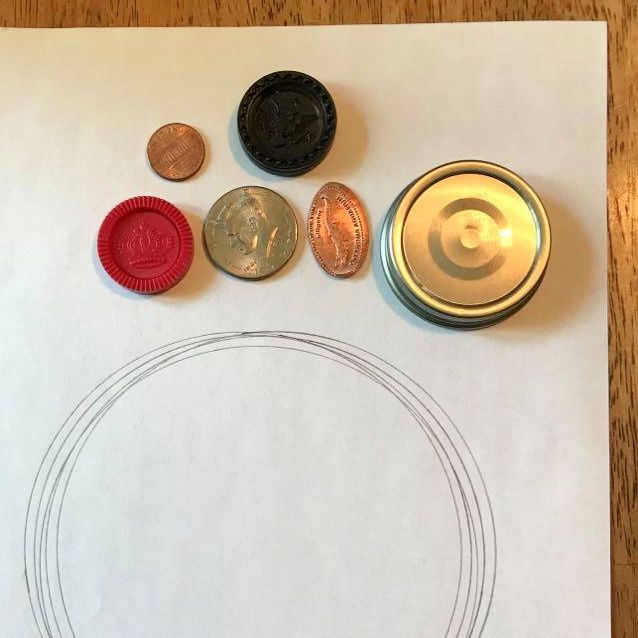
I really struggle with making multiple items the same size. These common objects are super helpful! Coins, checkers, and a lid. That little copper oval is from a souvenir penny smashing machine at Oklahoma Aquarium! If you can draw consistent circles, you are my hero! 😉 Otherwise, use whatever is available. ‘No need to make a bunch of purchases.
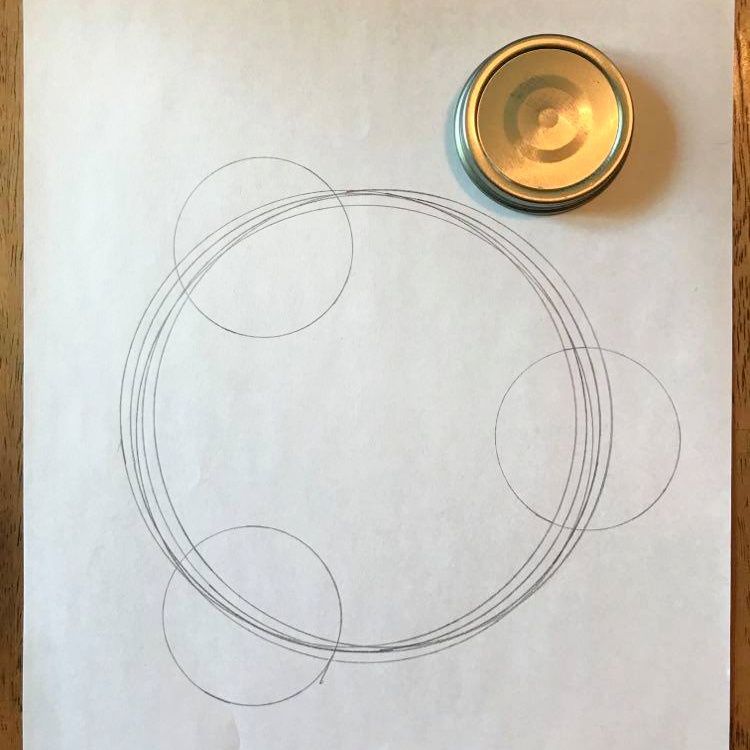
For a balanced looking wreath, I think in thirds. Just “eyeing it” three circles are traced, evenly spaced around the wreath. These will become roses.

Using my round object collection, more circles are added to form three clumps of flowers.
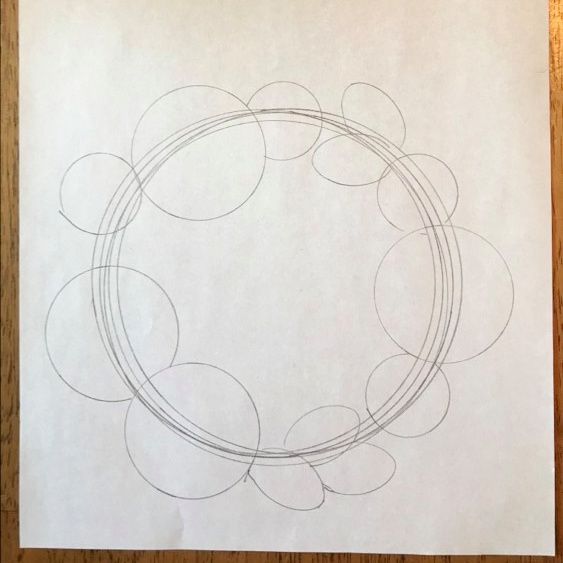
The smashed penny helps me with leaves. I want part of the vines to remain visible.
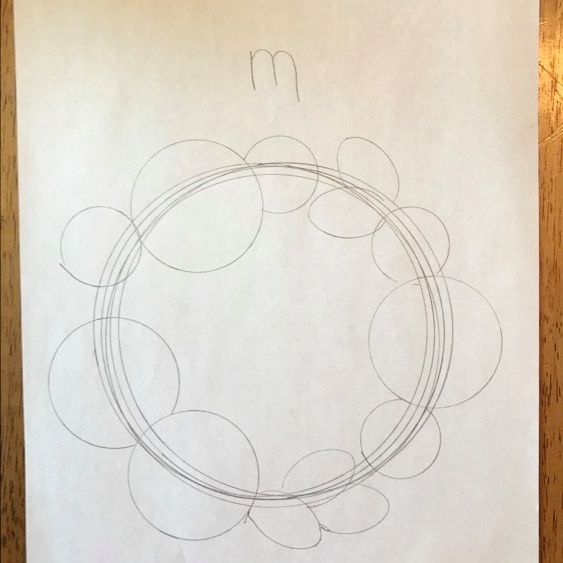
Here’s a tip for hand lettering, especially on curves. Begin with the center letter and build out your word from there.
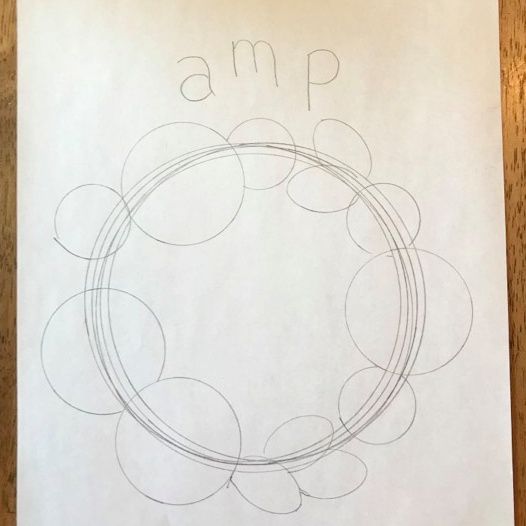
Keep going!

When I’m working in my Bibles, the pencil marks are very light so any that aren’t covered can be easily erased. These heavy pencil marks are only being left on my example page so I can photograph them for you.

It’s time for color! I’m using acrylic paint today. Please go with whatever you have. Bible journaling is about worshiping our Lord, not collecting craft supplies! 😉

I love it when my illustration comes to life!
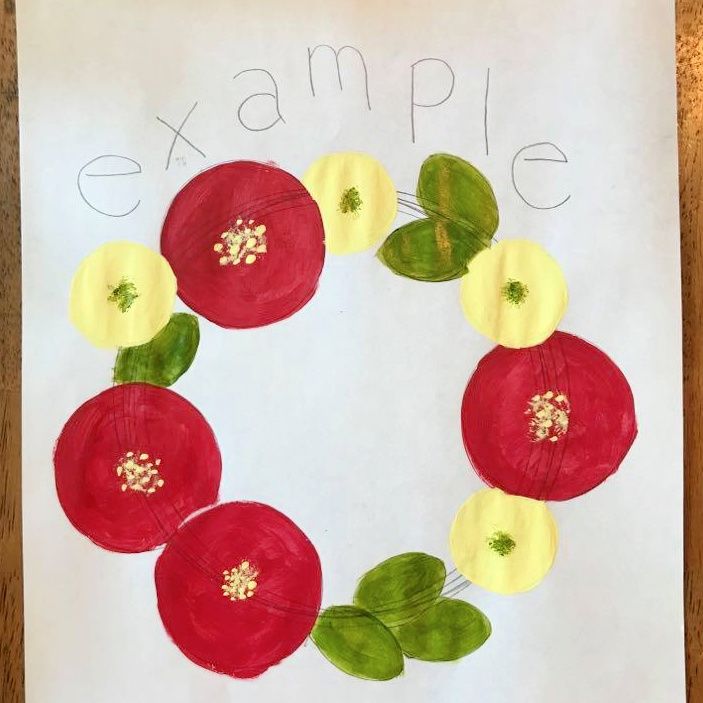
Easy, peasy lemon squeazy.
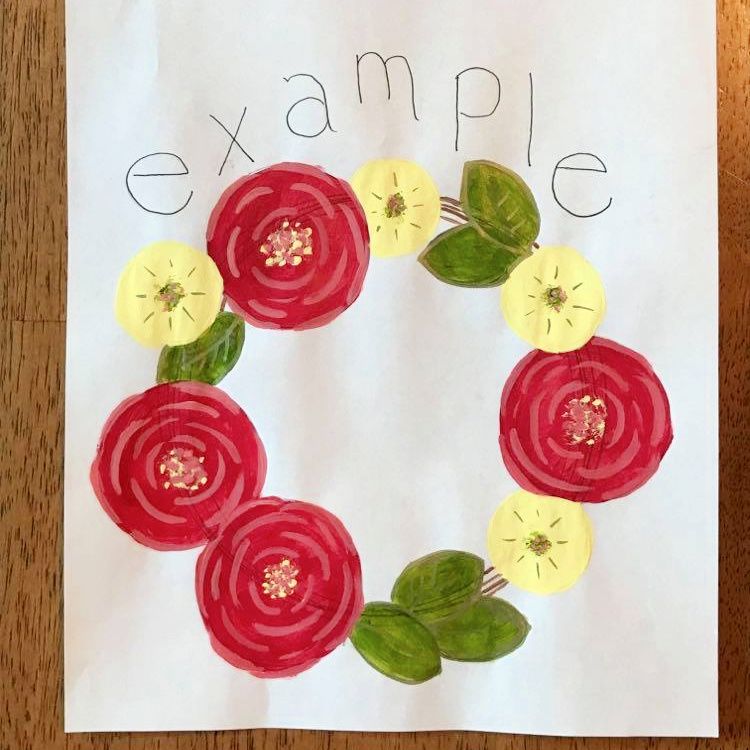
If you need help with those rose petals, please refer to my tutorial for Simple Circle Flowers . The petals for the small yellow flowers are just straight lines from the center.
Brown paint fills in the bits of visible vine. Yellow and red paint is mixed for the petals. Green and yellow paint is mixed for the veins on my leaves.
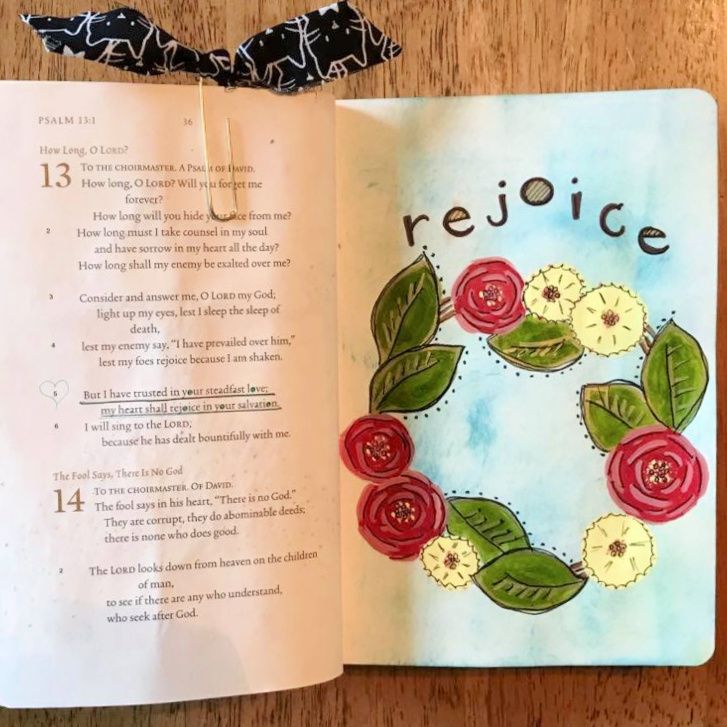
My lettering was completed with brown Crayola marker. For my Bible, I used a micron pen to add shadows and more details. The verse has been underlined.
Psalm 13:5 But I have trusted in your steadfast love; my heart shall rejoice in your salvation.
I hope you’ve enjoyed this step by step tutorial!
😉 -Marci