Disclosure: this post contains affiliate or sponsored links. If you buy through them I may earn a small commission at no extra cost to you.
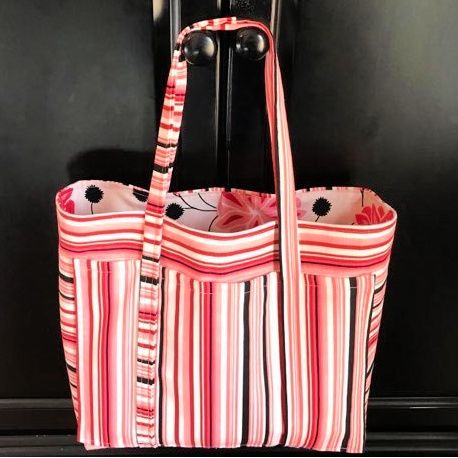
Walking into church, juggling my Bible and purse, picking up a bulletin AND trying to shake hands is very difficult for me. I’m just not that coordinated. LOL!
My solution? Sewing this cute tote bag with lots of pockets!

These talented bloggers are joining me for another challenge.

Beverly | Across the Blvd * St Patrick’s Day Centerpiece DIY
Allyson | Southern Sunflowers * DIY Photo Frame using Craft Stencil
Niki | Life as as LEO Wife * St Patrick’s Day Sign without a Cricut
Gail | Purple Hues and Me * DIY Wood Trim Trifle Bowl
T’onna | Sew Crafty Crochet * Potted Cactus Scarf
Vibrant Tote with Pockets
Here’s what I chose to do:
17″ x 15″ Top fabric, cut two
17″ x 15″ Liner fabric, cut two
17″ x 15″ Interfacing, cut two
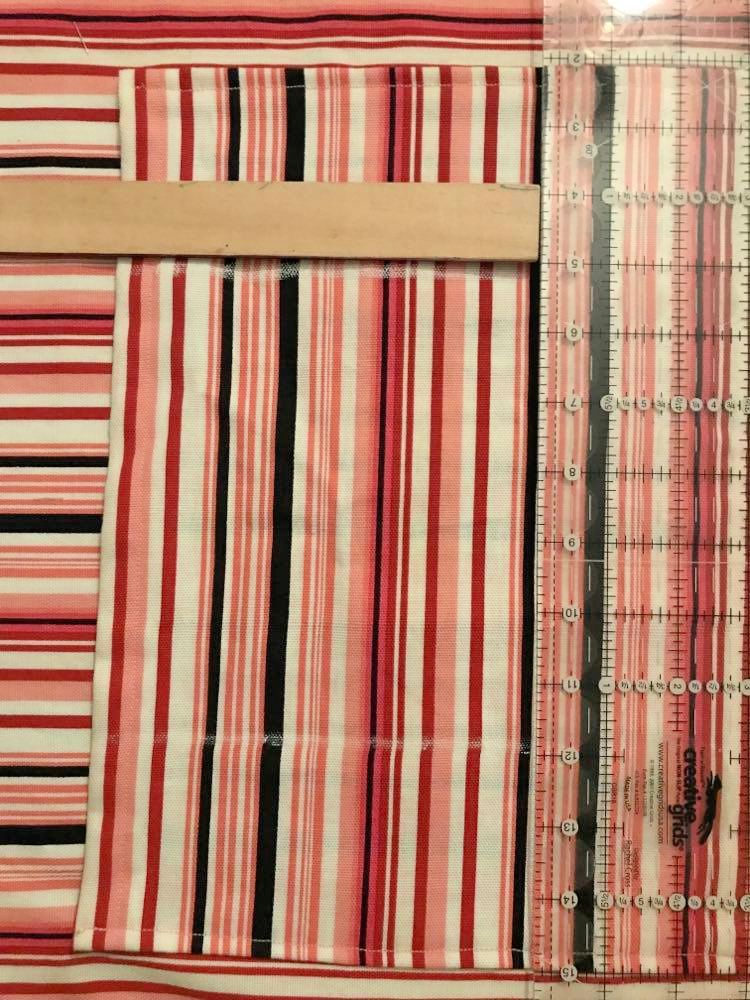
14″ x 11″ Outside pockets, cut two
7″ x 5″ Inside pockets, cut two
45″ x 3″ Handles, cut two
Pockets. On three sides press edges toward center by half an inch and zig zag. For the hem at the top of the pocket, on one longer side, press under twice and straight stitch.
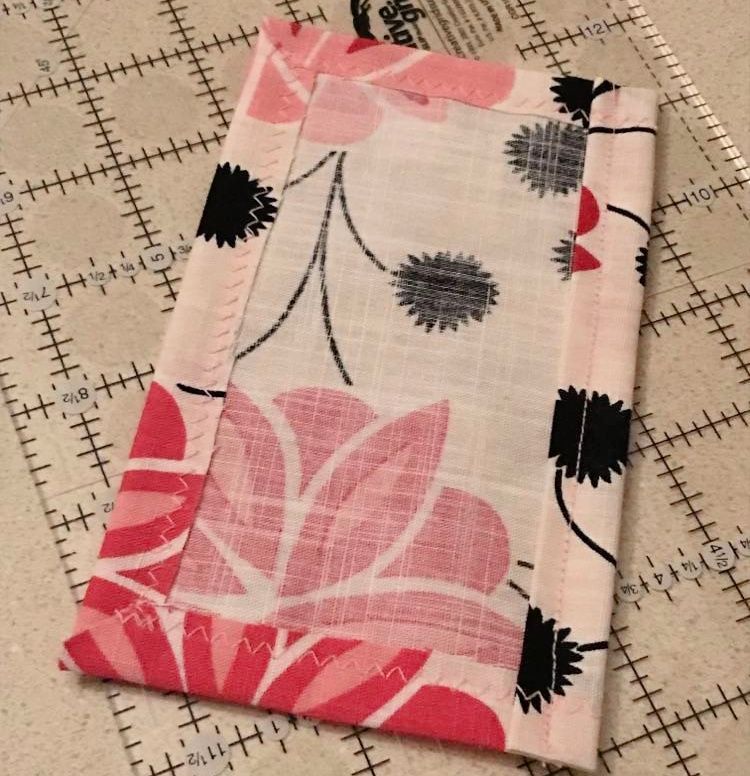
My outside pockets are big so I can bring lots of pens and markers for taking notes in my Bible and scribbling all over my bulletin. The outside ones were centered with the width two inches below the top edge. It was fun to flip the stripes sideways. One inside pocket is for my tithe and the other one holds lip balm and peppermint. They were also centered and placed three inches from the top.
Handles. Fold the strip of fabric in half longways and press. Open and fold each raw edge to the center and press. Fold the strip in half again with the raw edges tucked inside and stitch the entire length. For attaching handles to the bag, center and sew them 7 inches apart.
How FUN are those stripes?!
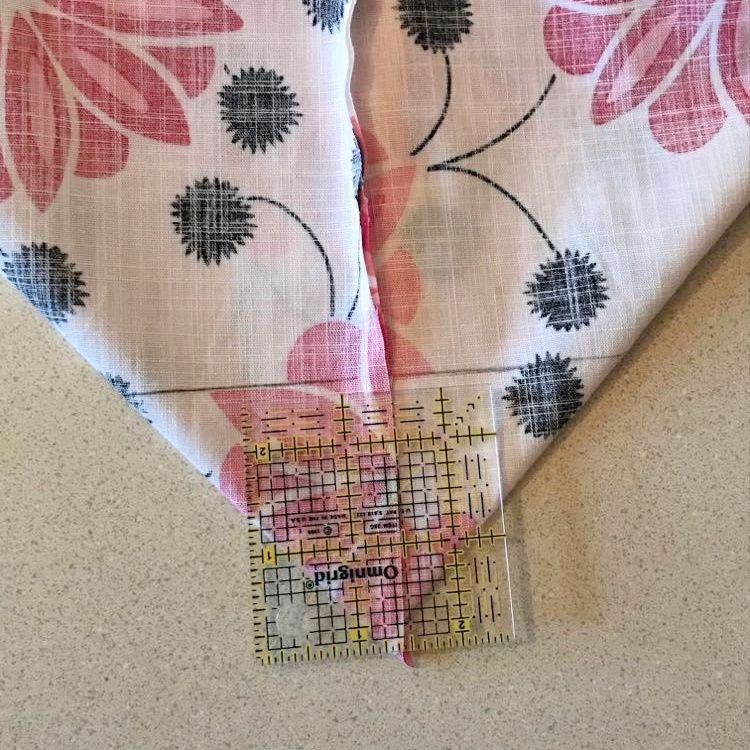
With right sides facing, sew liner pieces together on three sides. Next, pinch the corner and mark perpendicular to the first seam on both sides. Stitch. Do the same for the cover fabric, being careful to keep the handles tucked out of the way.
With cover facing out and liner facing in (right sides together) attach them together leaving a gap to turn the fabric. Once turned, press and top stitch along the top edge.
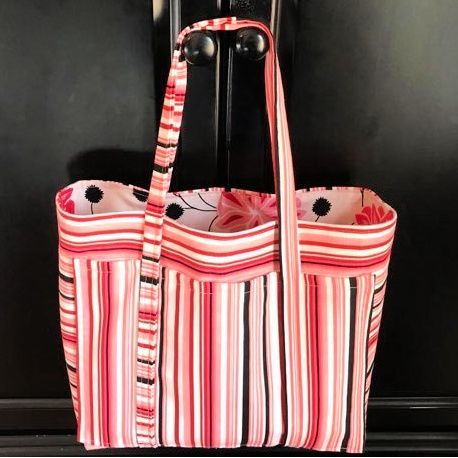
Less juggling. More smiling! What have you been sewing?
😉 –Marci