Disclosure: this post contains affiliate or sponsored links. If you buy through them I may earn a small commission at no extra cost to you.
So, am I the very last person on the planet to take the plunge and invest in one of those electronic DIY cutting machines? No? WHEW! My order was placed online and then the wait. You know the drill. A box truck pulls into the neighborhood and some nice person walks up to my door with a package and asks for a signature. It’s HERE!! What should I do first?
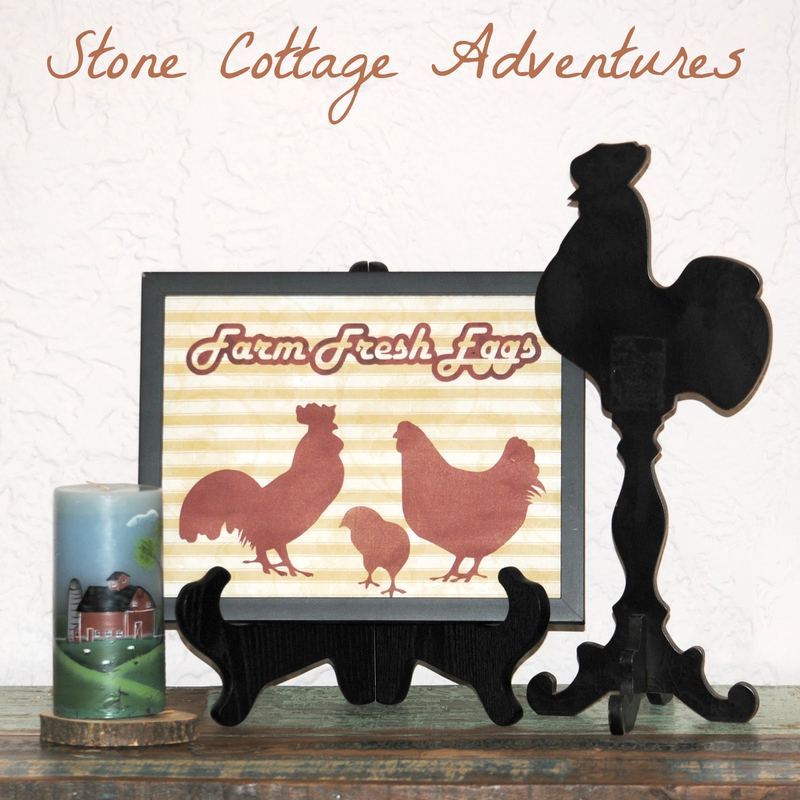
Y’all know how much I love chickens! And eggs! Around this old rock farmhouse, everything needs to have a vintage or shabby feel. (Wouldn’t this display stand be perfect?)
My first project on my just purchased electronic cutting machine was a quick, easy choice!
Vintage Farmhouse Chickens!
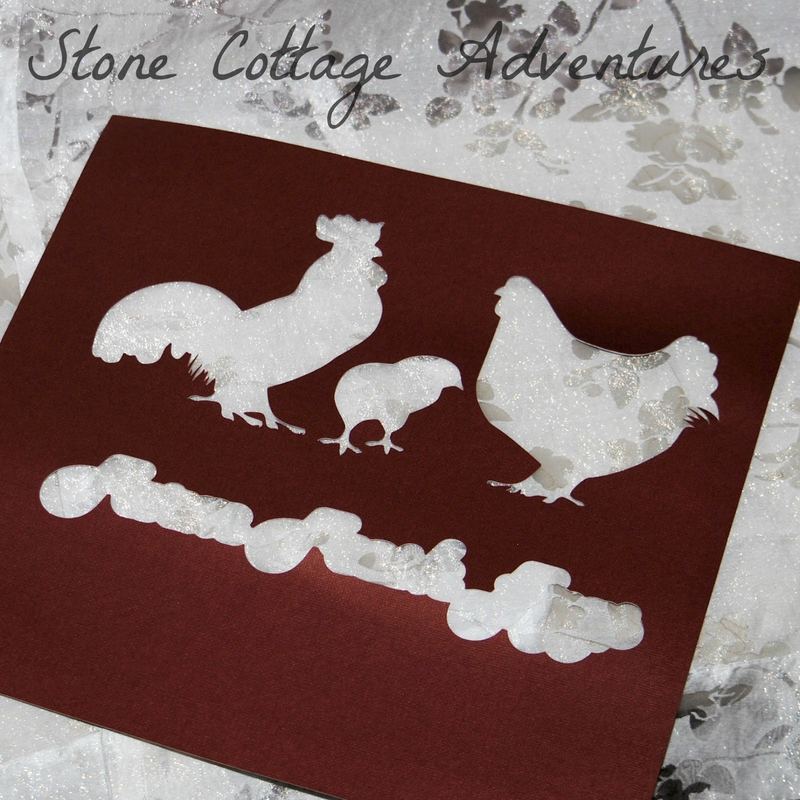
Once my machine arrived, I studied the owners manual for some time trying to understand the software.

While there is quite the learning curve for a brain like mine, let’s face it. I design the project and the machine performs all the manual labor!
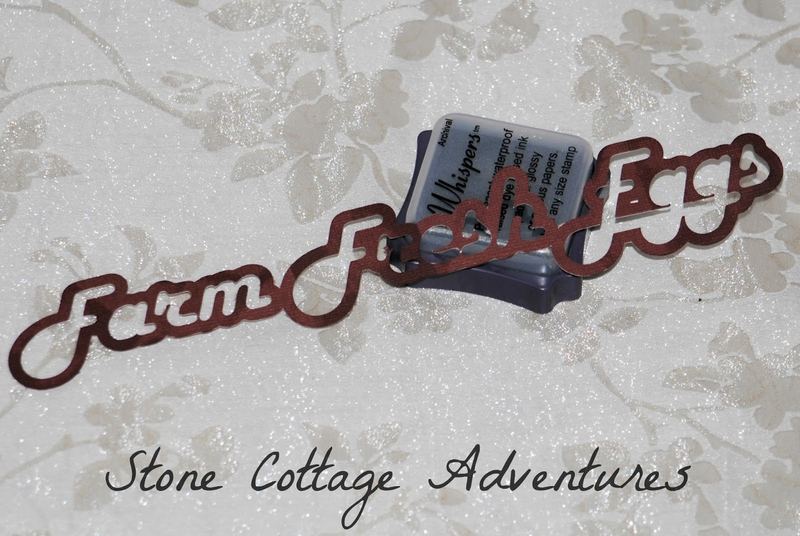
I wanted the lettering to look a bit rough, so after cutting it, a purple ink pad was used to add some dark splotches in random spots and around the edges. Gluing the small inside dots of the lettering took some a lot of patience.
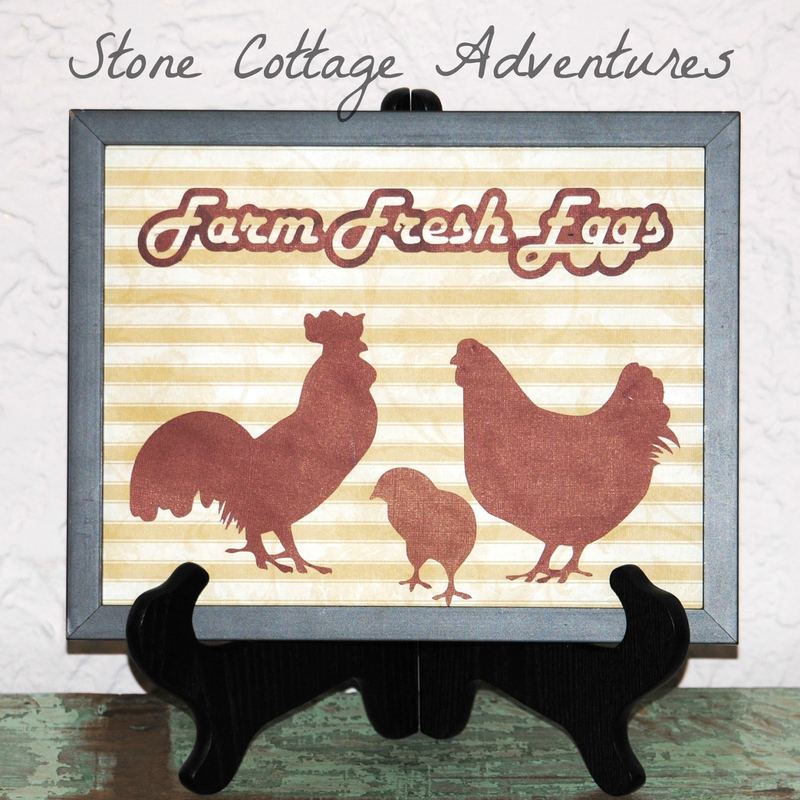
So far, I’ve only cut card stock on the machine. I’d like to improve my skill set before tackling more expensive materials.
Using regular white children’s glue, the sweet little chickens and farm fresh letters were placed on beige and gold card stock. Once dry, the project hopped into a black frame.
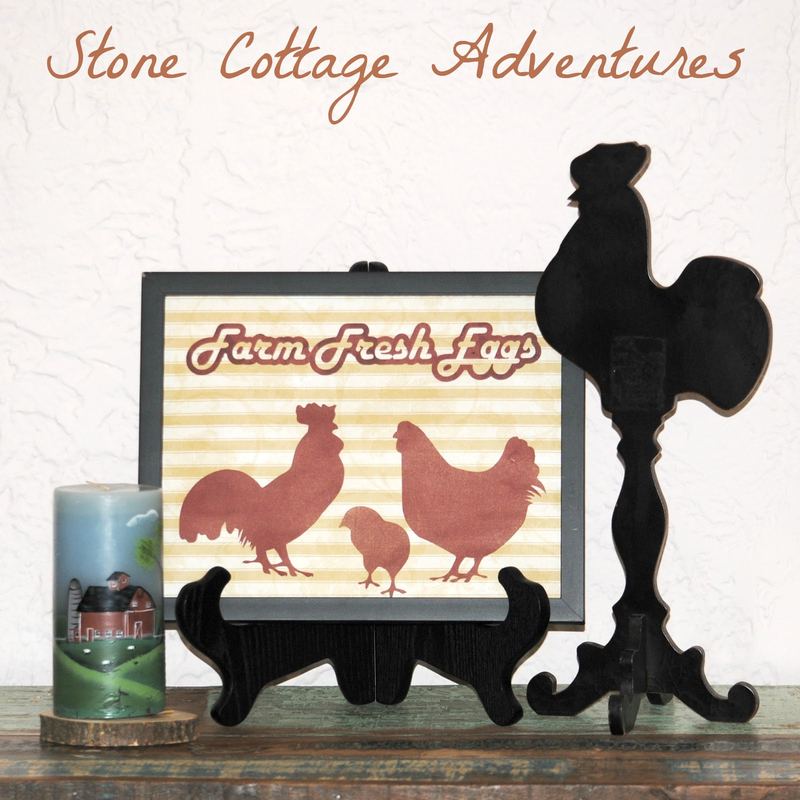
I’ve already completed two more projects with my brand new electronic cutting machine. The creative part of my brain is absolutely on fire!
What would you create first?
😉 -Marci